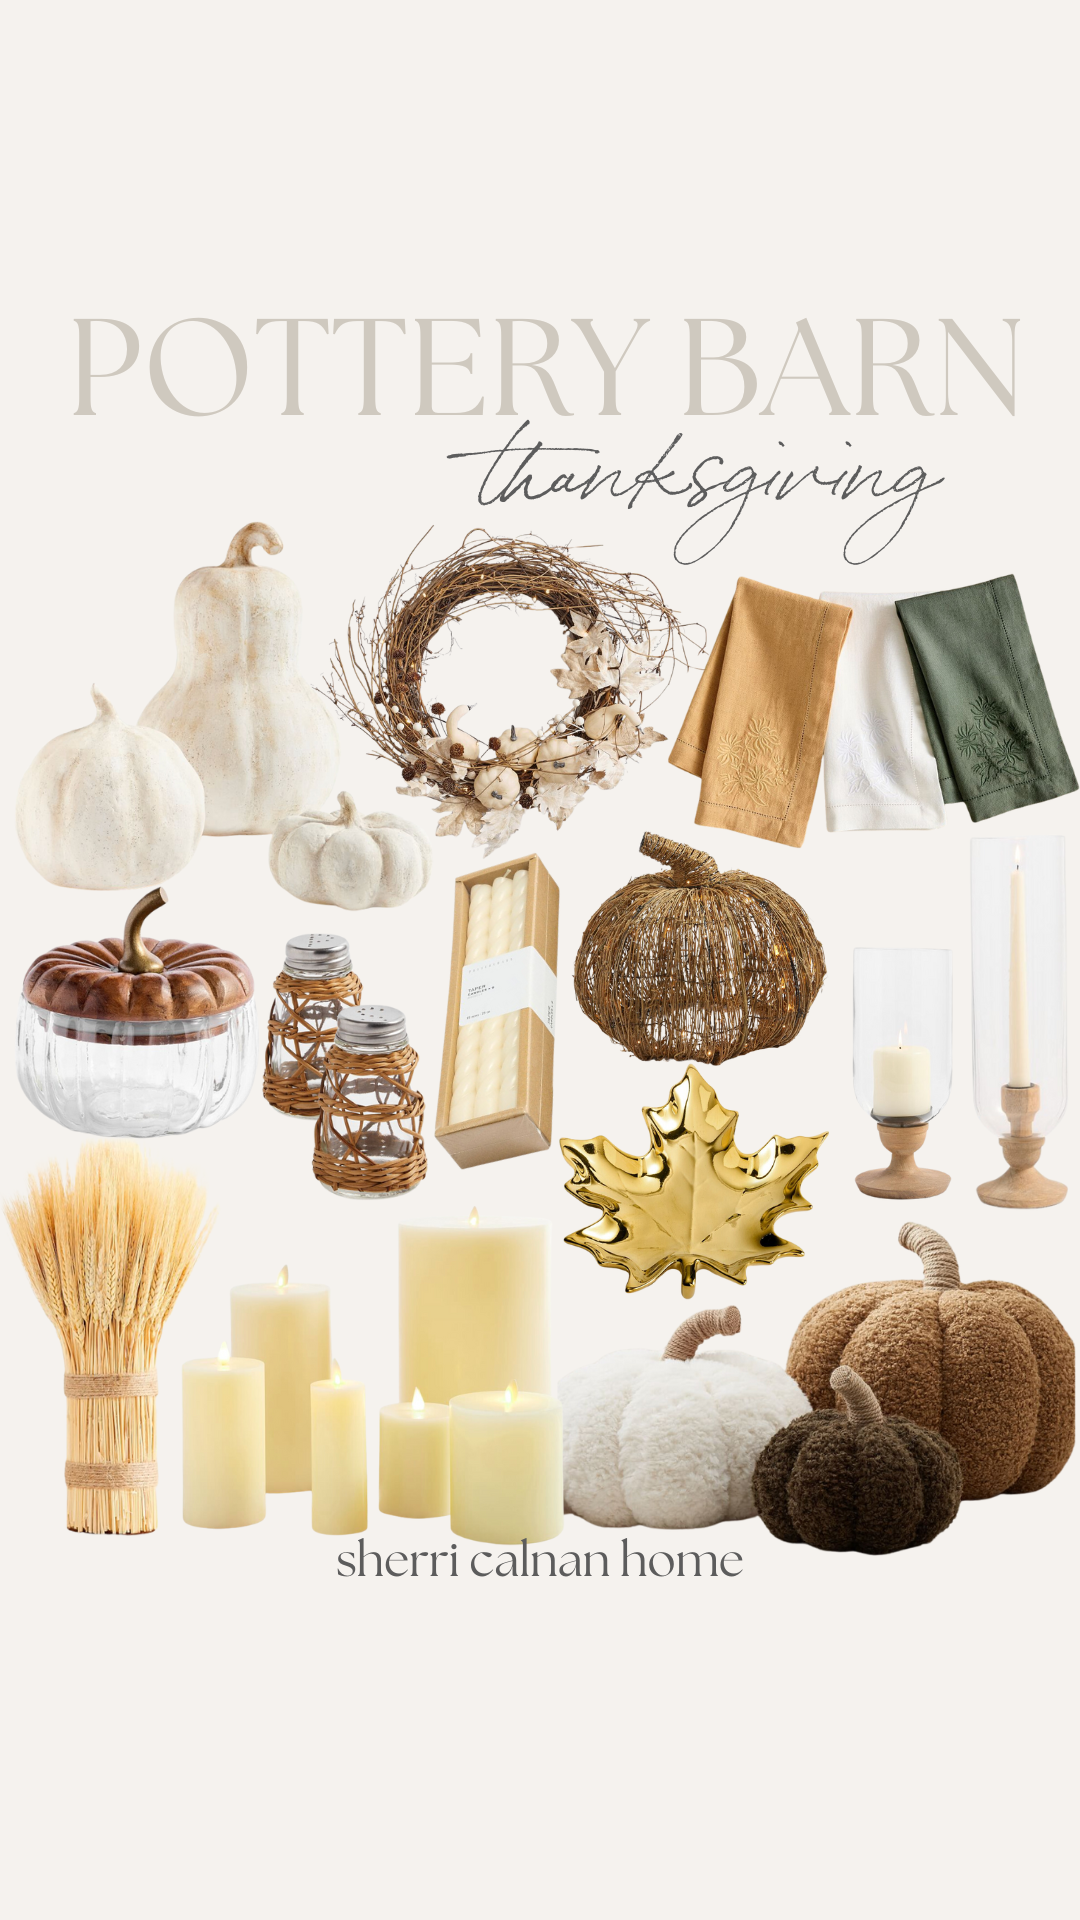
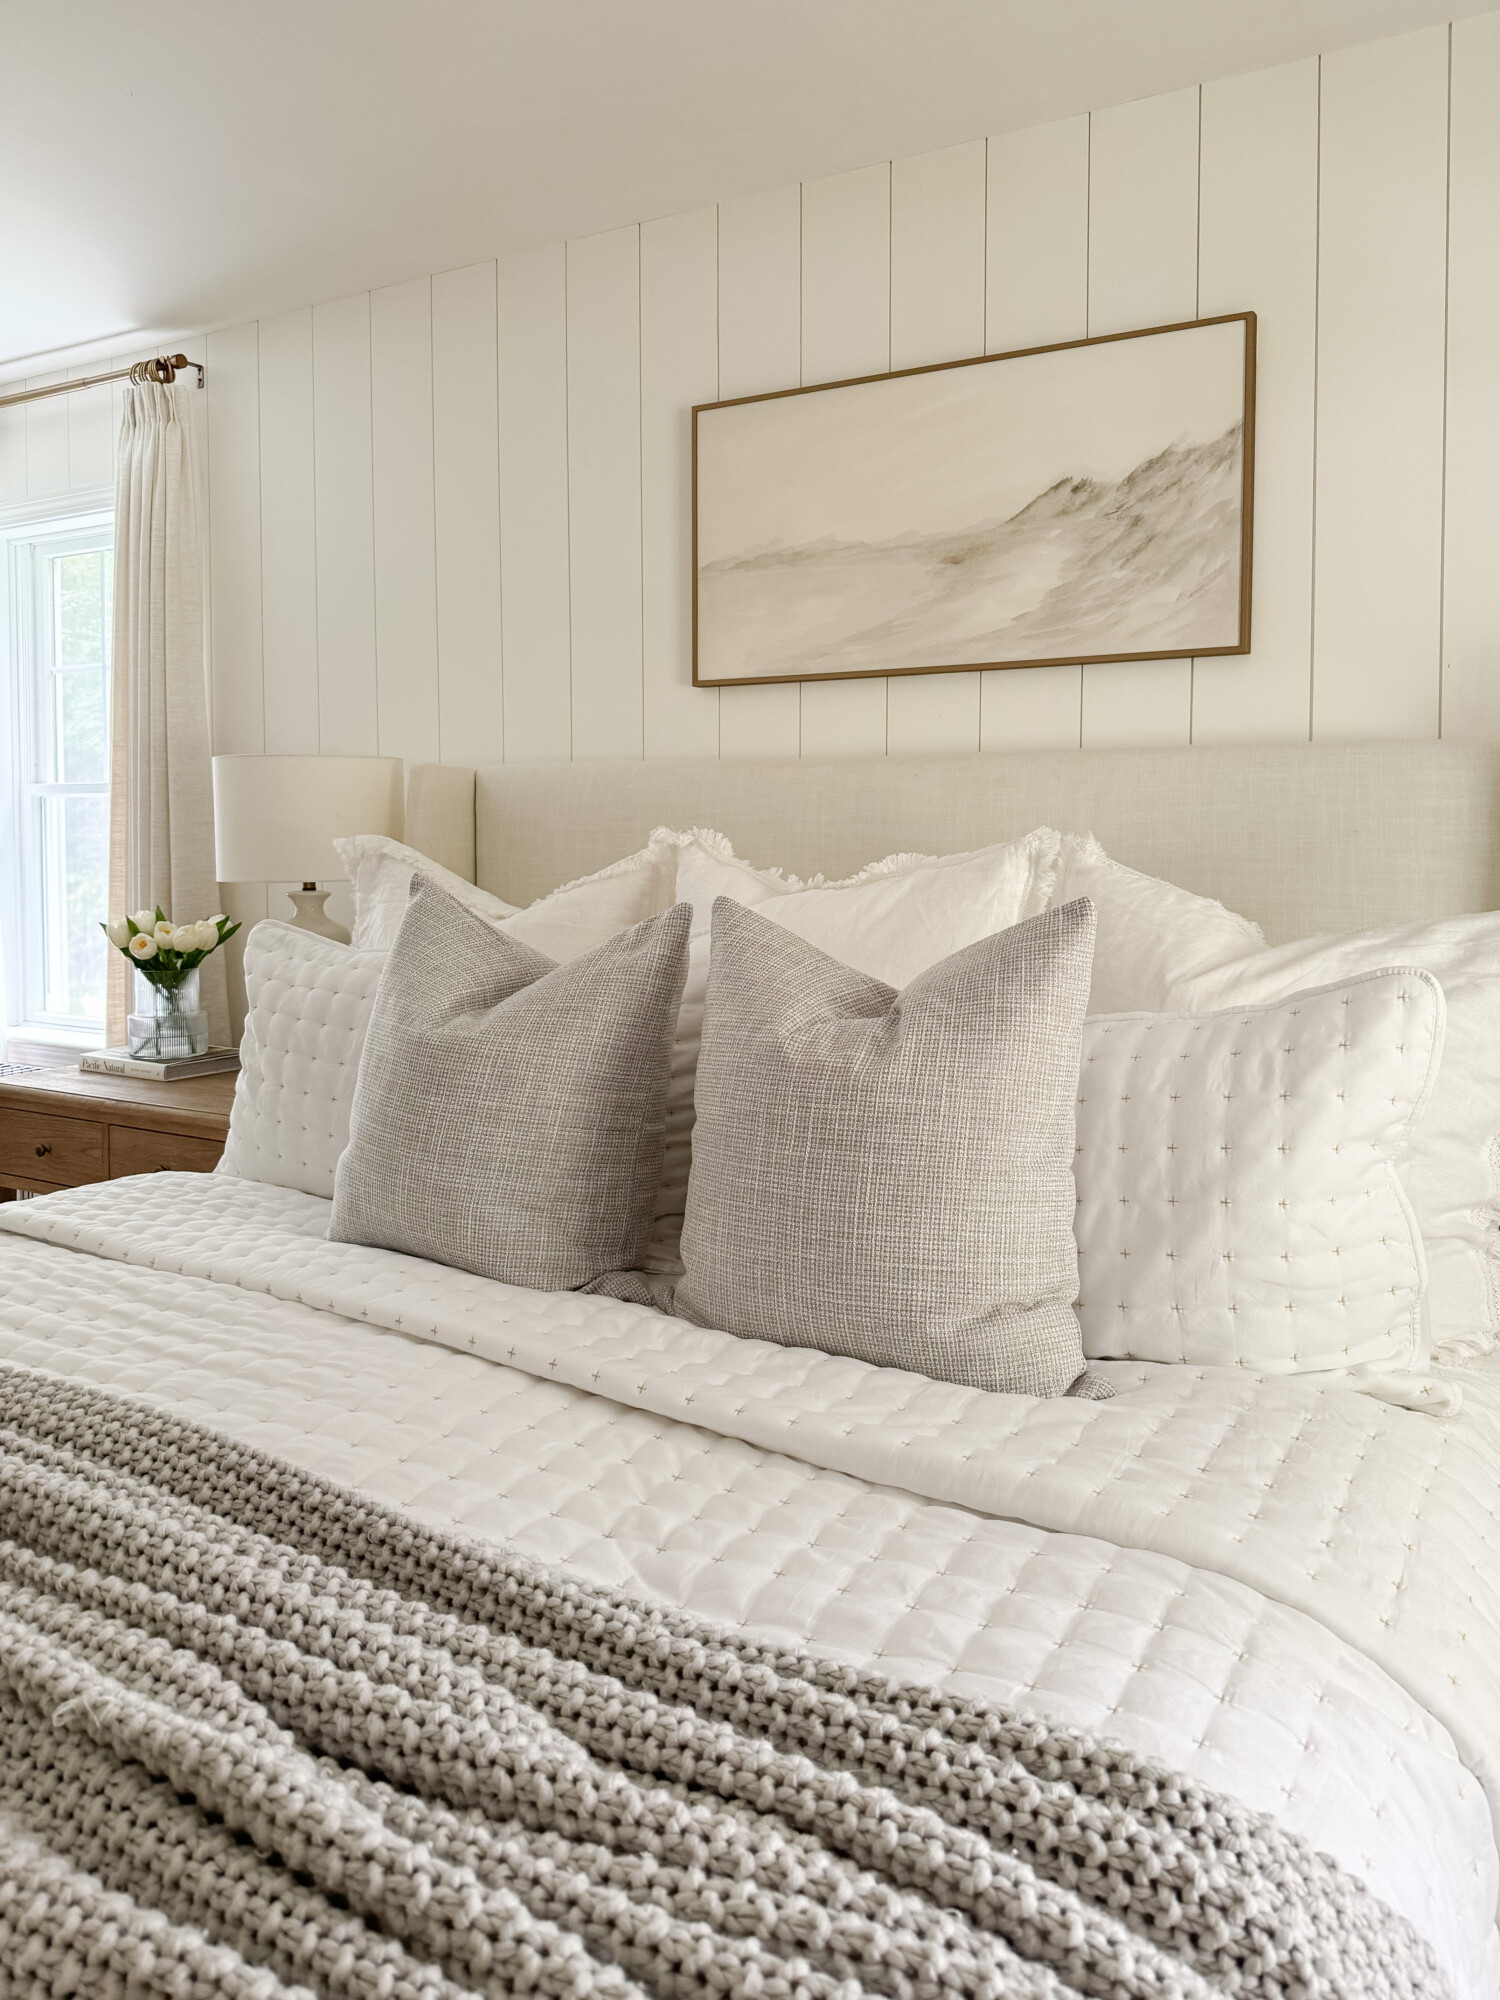
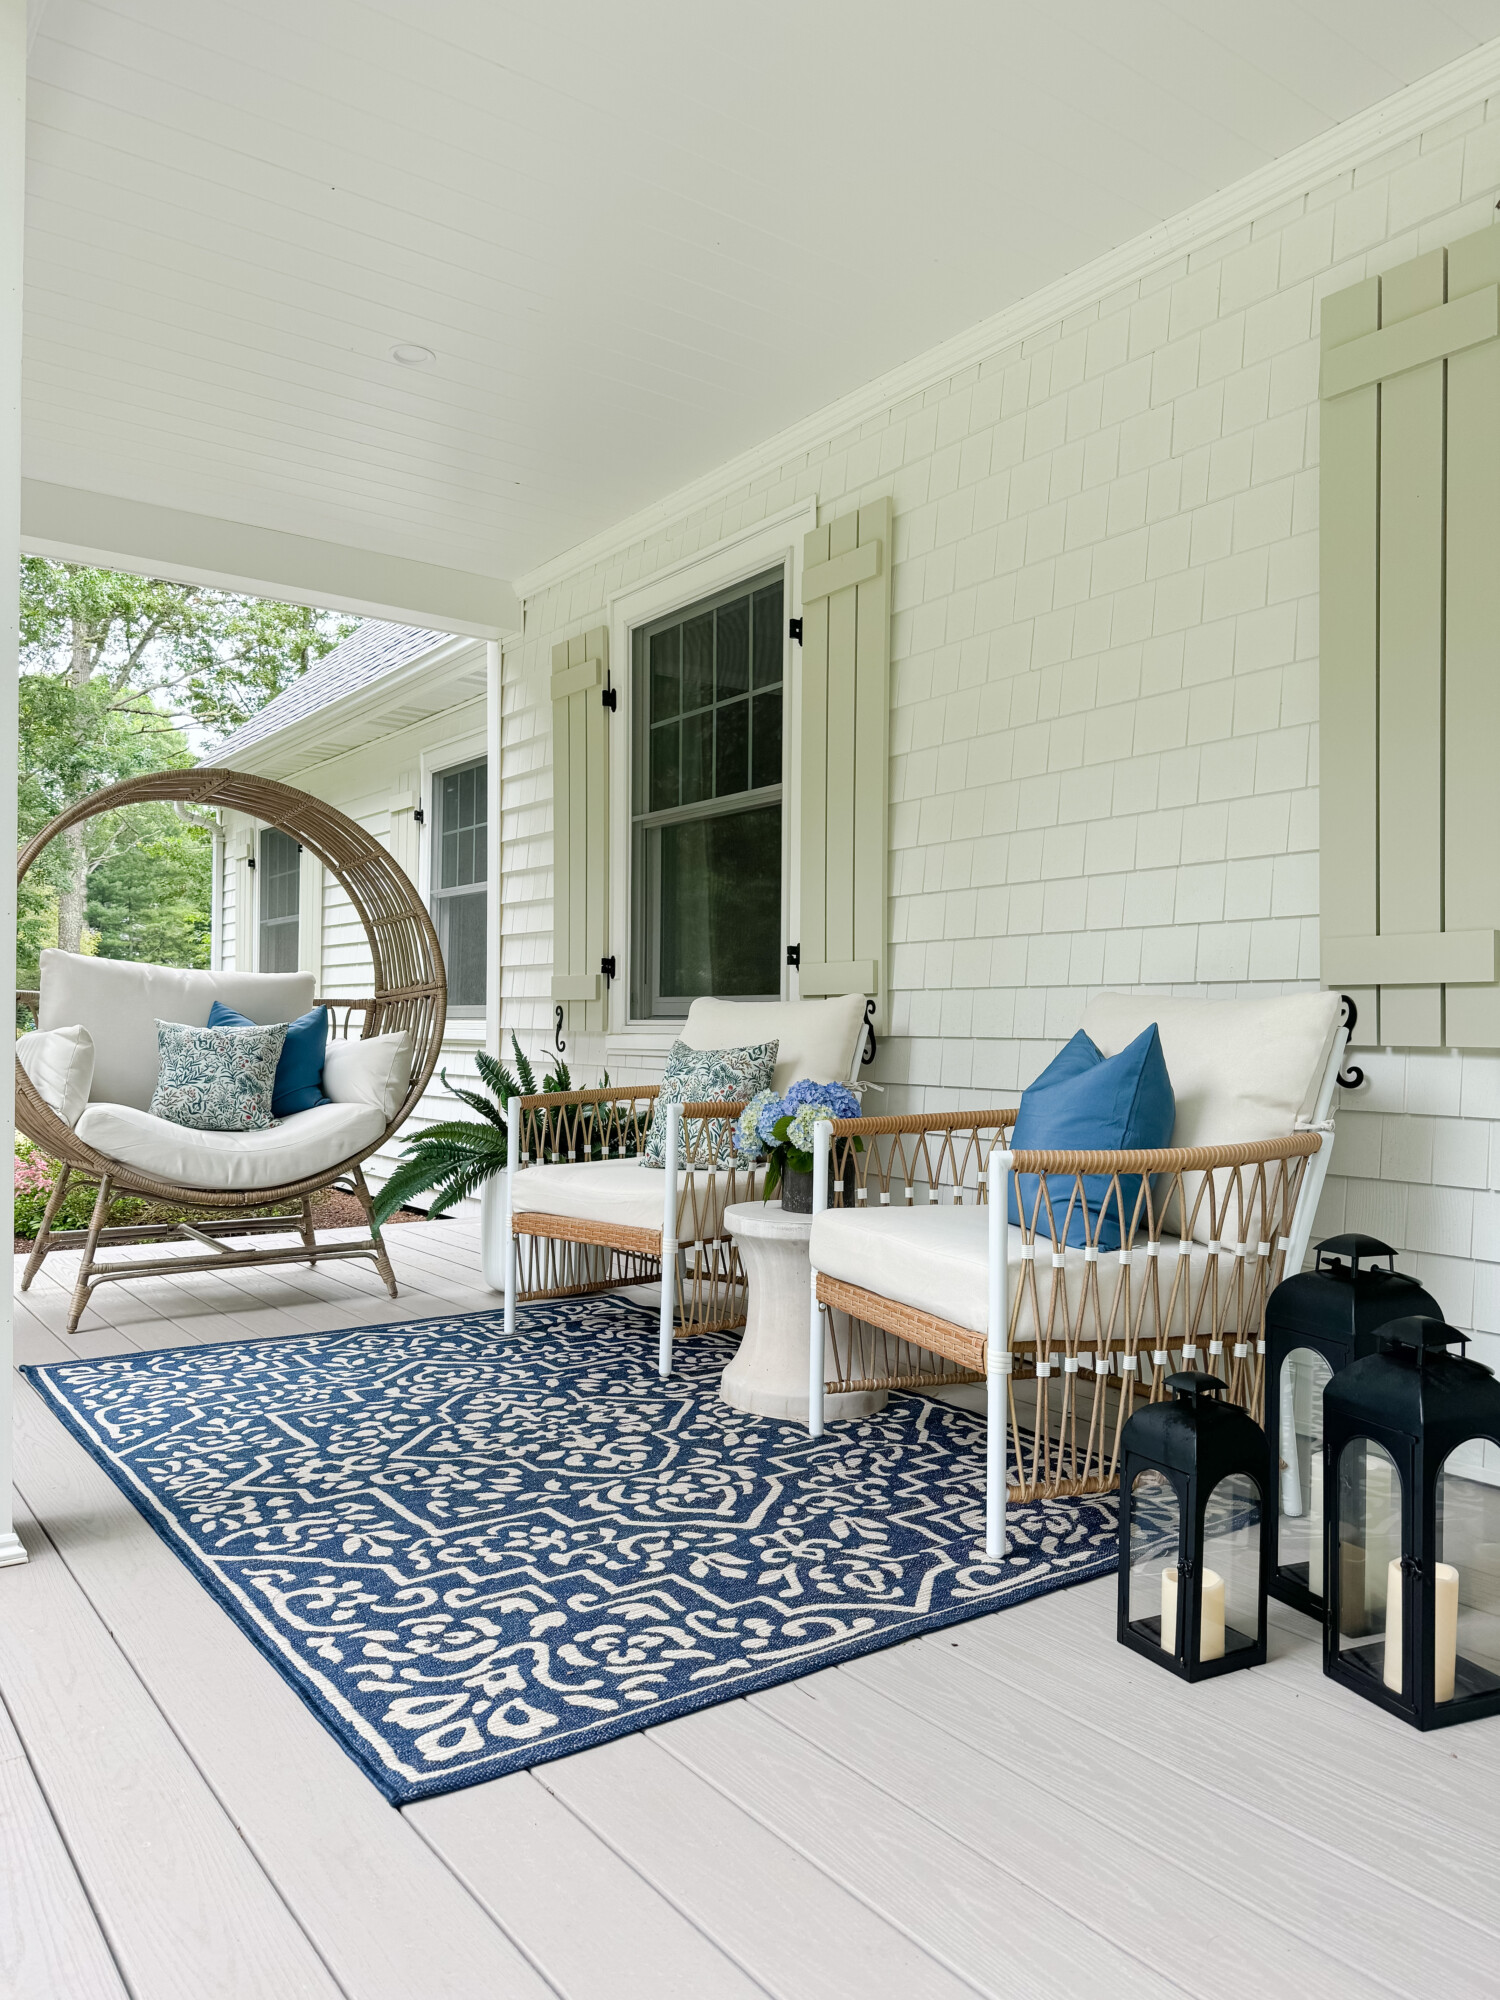
We are getting so close to it officially being Christmas time! I can’t wait to continue sharing how I am getting my house ready for the season. And decorating my bedroom for the holidays has become one of my favorite parts. There’s something magical about transforming the space into a festive, cozy Christmas retreat. I love adding subtle touches of the Christmas season—whether it’s soft green throws, delicate tree statues, or a few carefully chosen seasonal accents. It’s the perfect way to create a peaceful, joyful atmosphere!

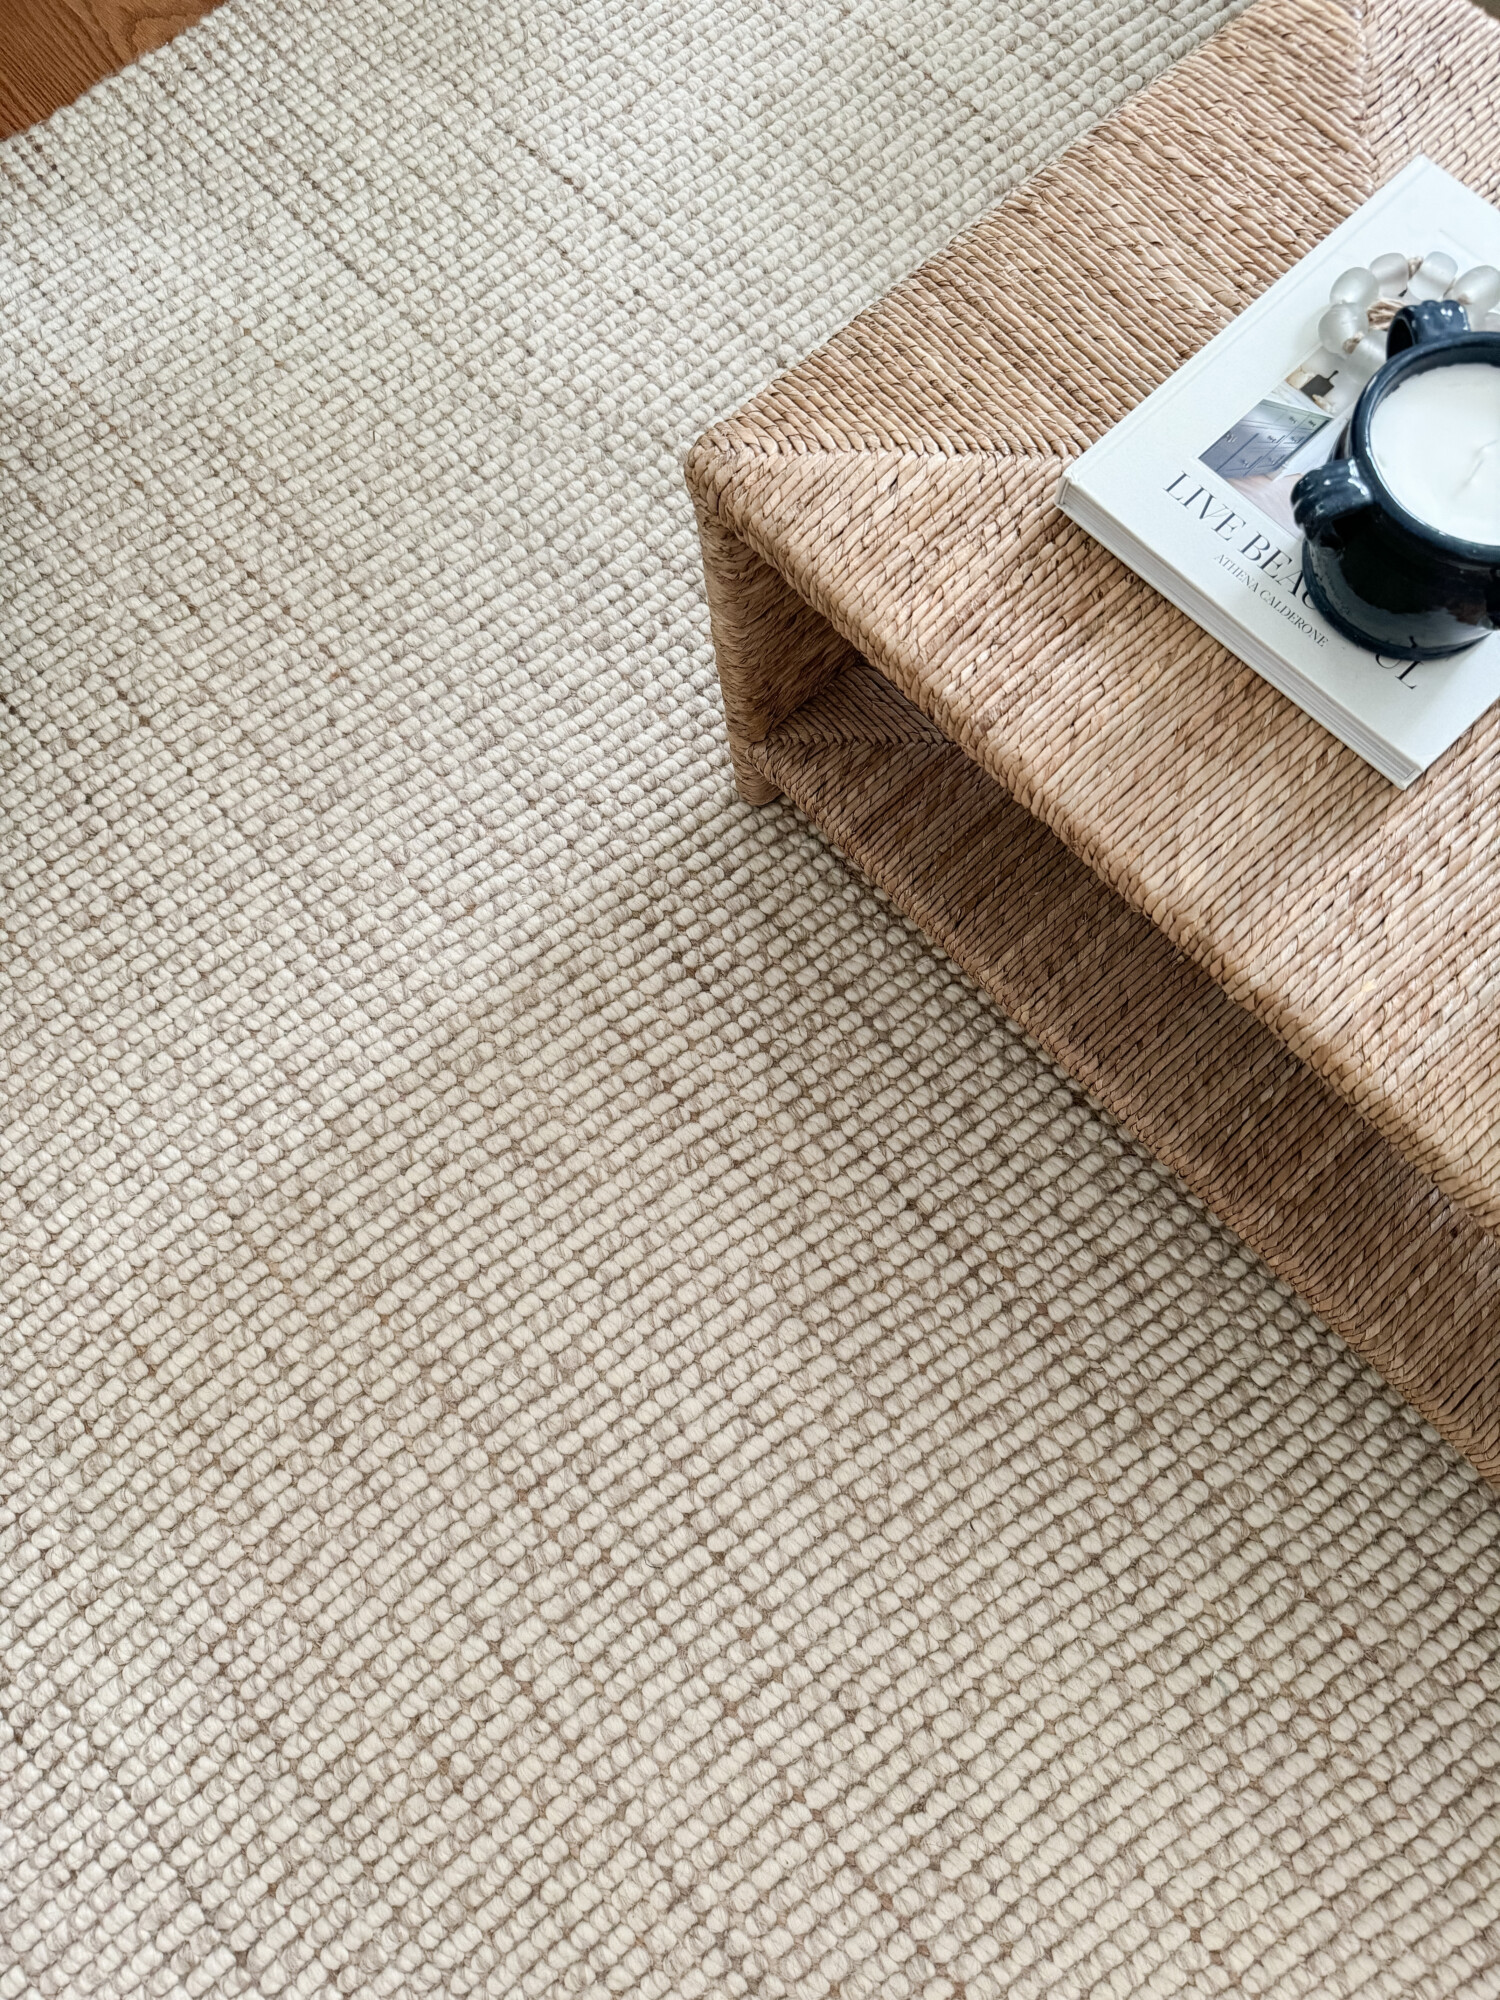
Christmas Tree | Driftwood Trees | Lamp | Wreath | Bed | Handcrafted Quilt | Quilted Shams | Bench Seat | White Throw Blanket | Grey Pillow | Christmas Tree Pillow | Rug
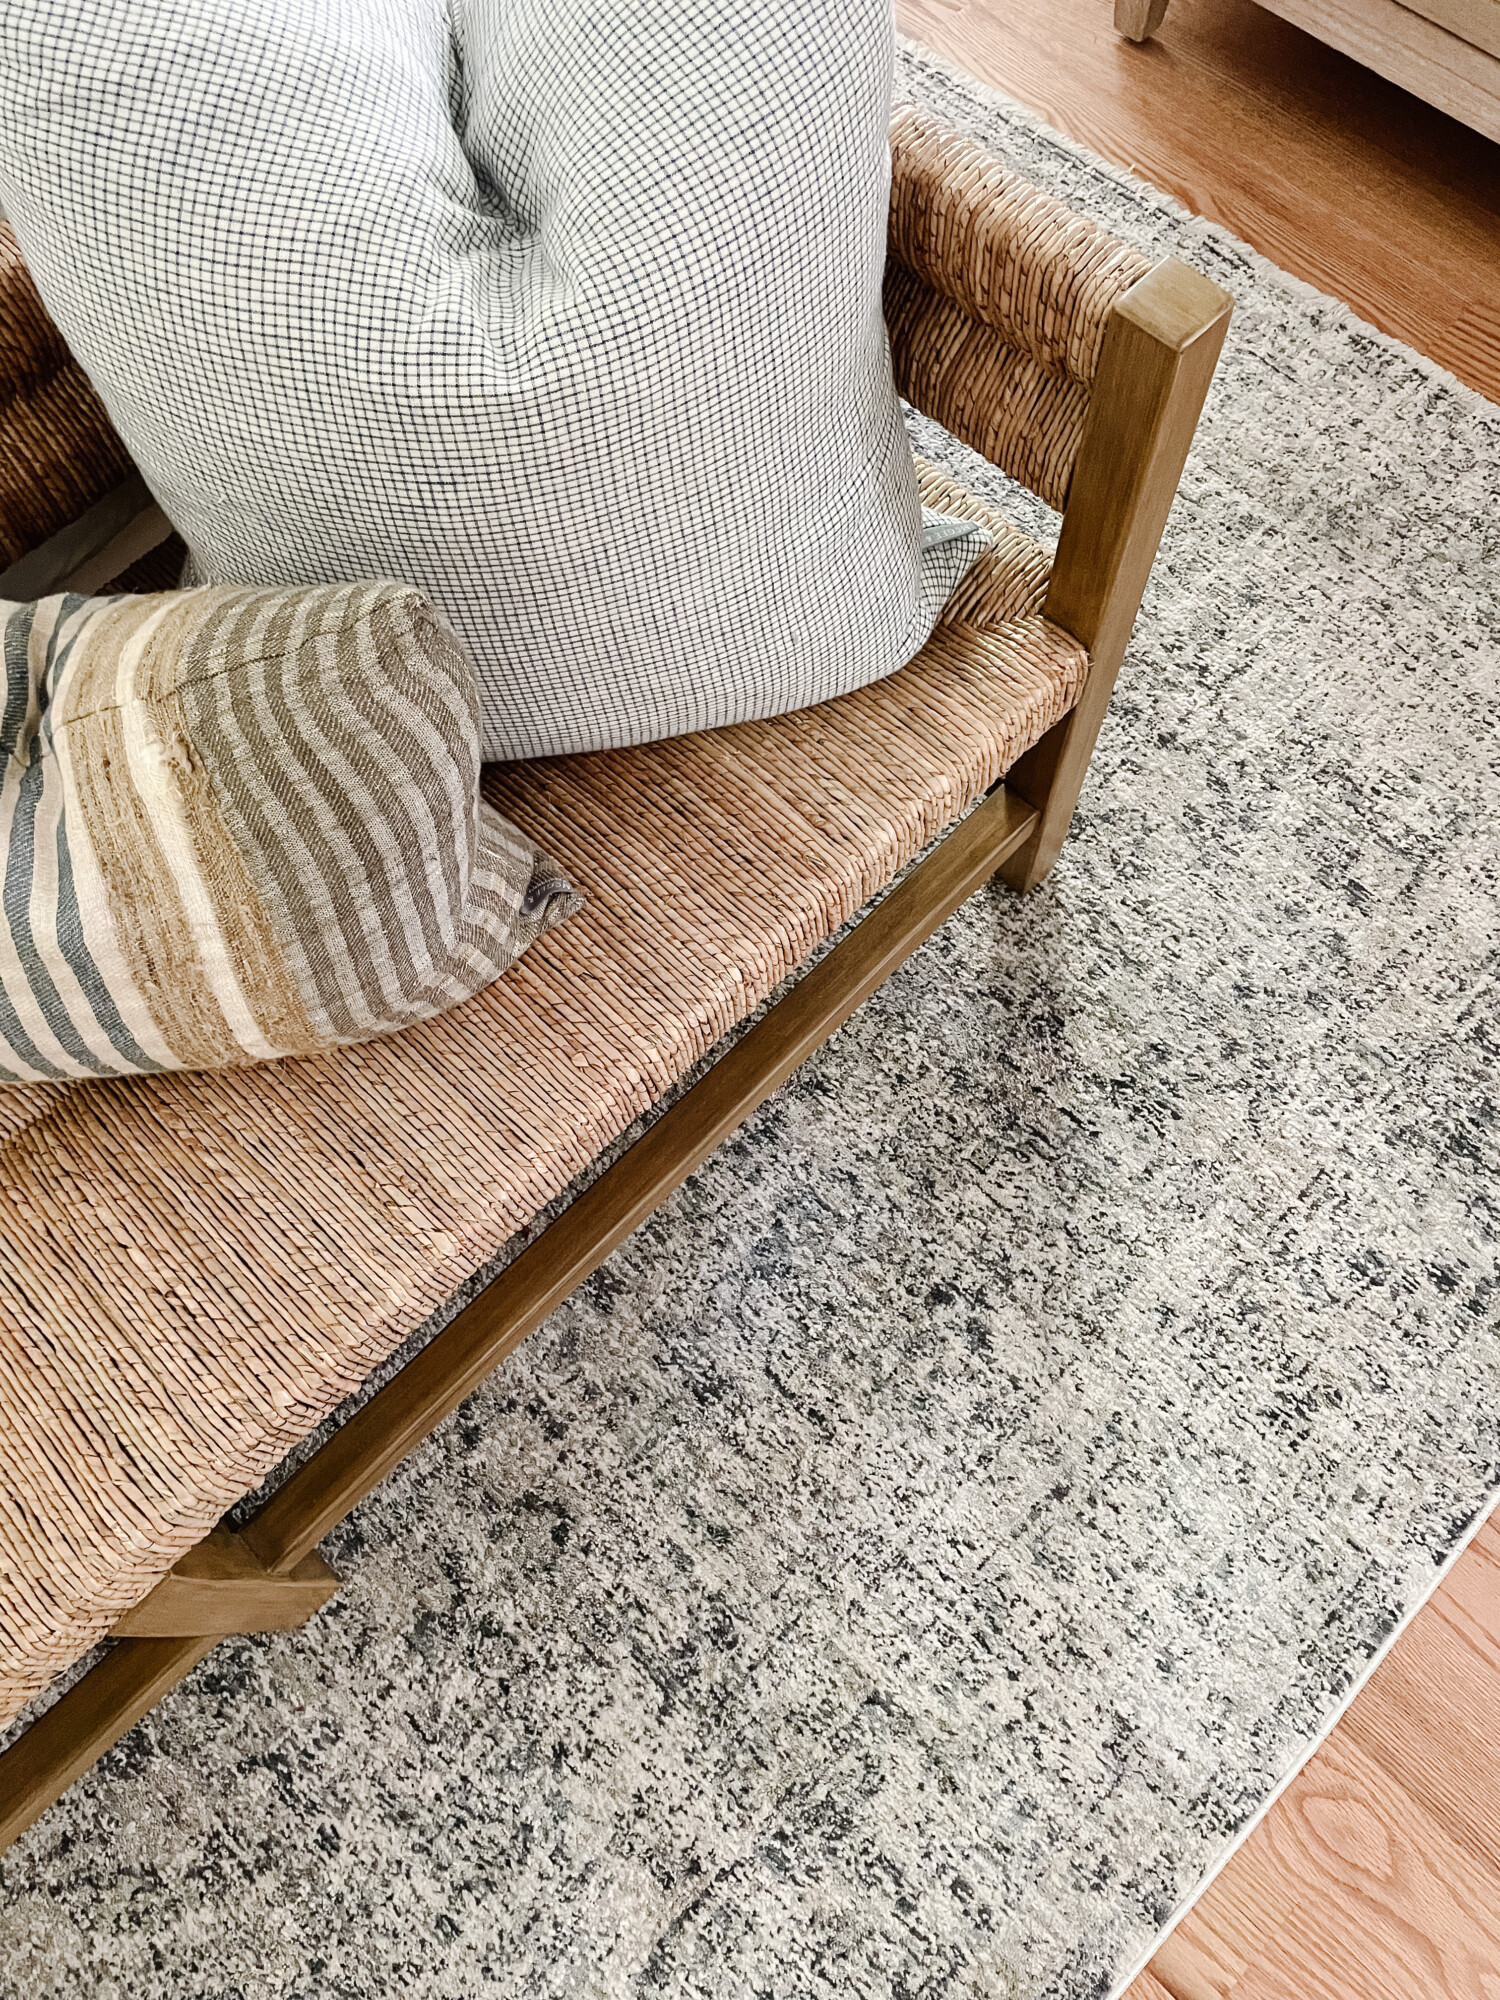
Styling my primary bedroom for the holidays is all about creating a festive, cozy Christmas space. I love adding a Christmas tree in the corner, its soft lights bringing a gentle glow to the room. Above the bed, a small wreath adds a subtle touch of greenery, while holiday-themed pillows on the end of bed bench bring in a pop of seasonal cheer. I also added green accents to the bedding— a deep green throw and pillow shams—which tie everything together and evoke the warmth and beauty of the season. It’s the perfect mix of festive and serene – and perfect for cozying up with a good book!
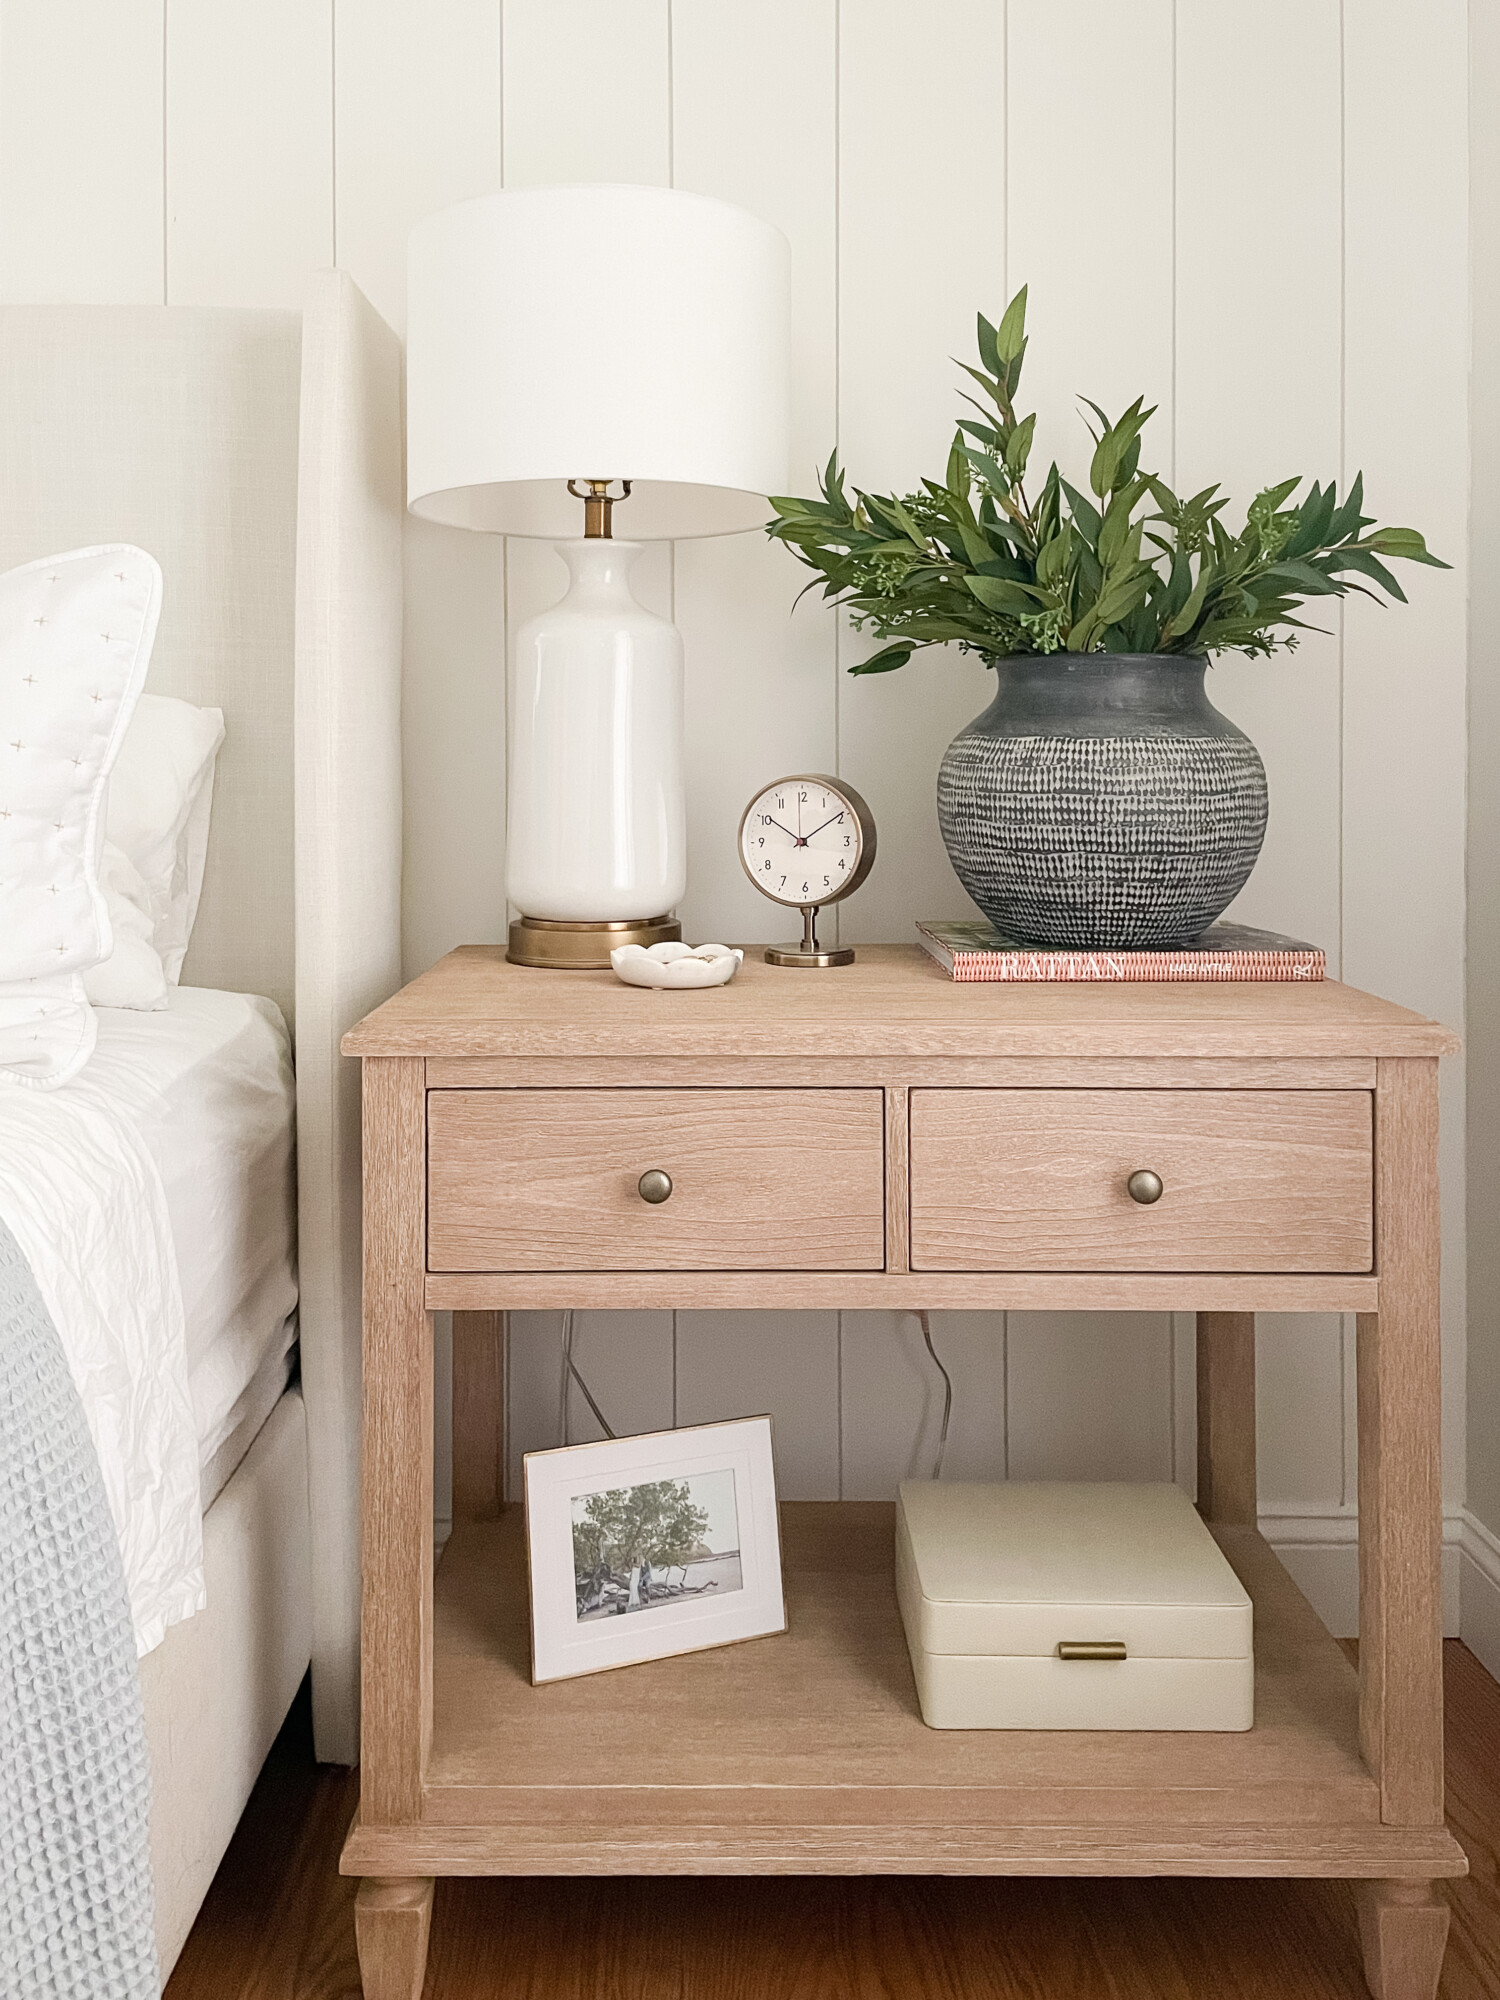
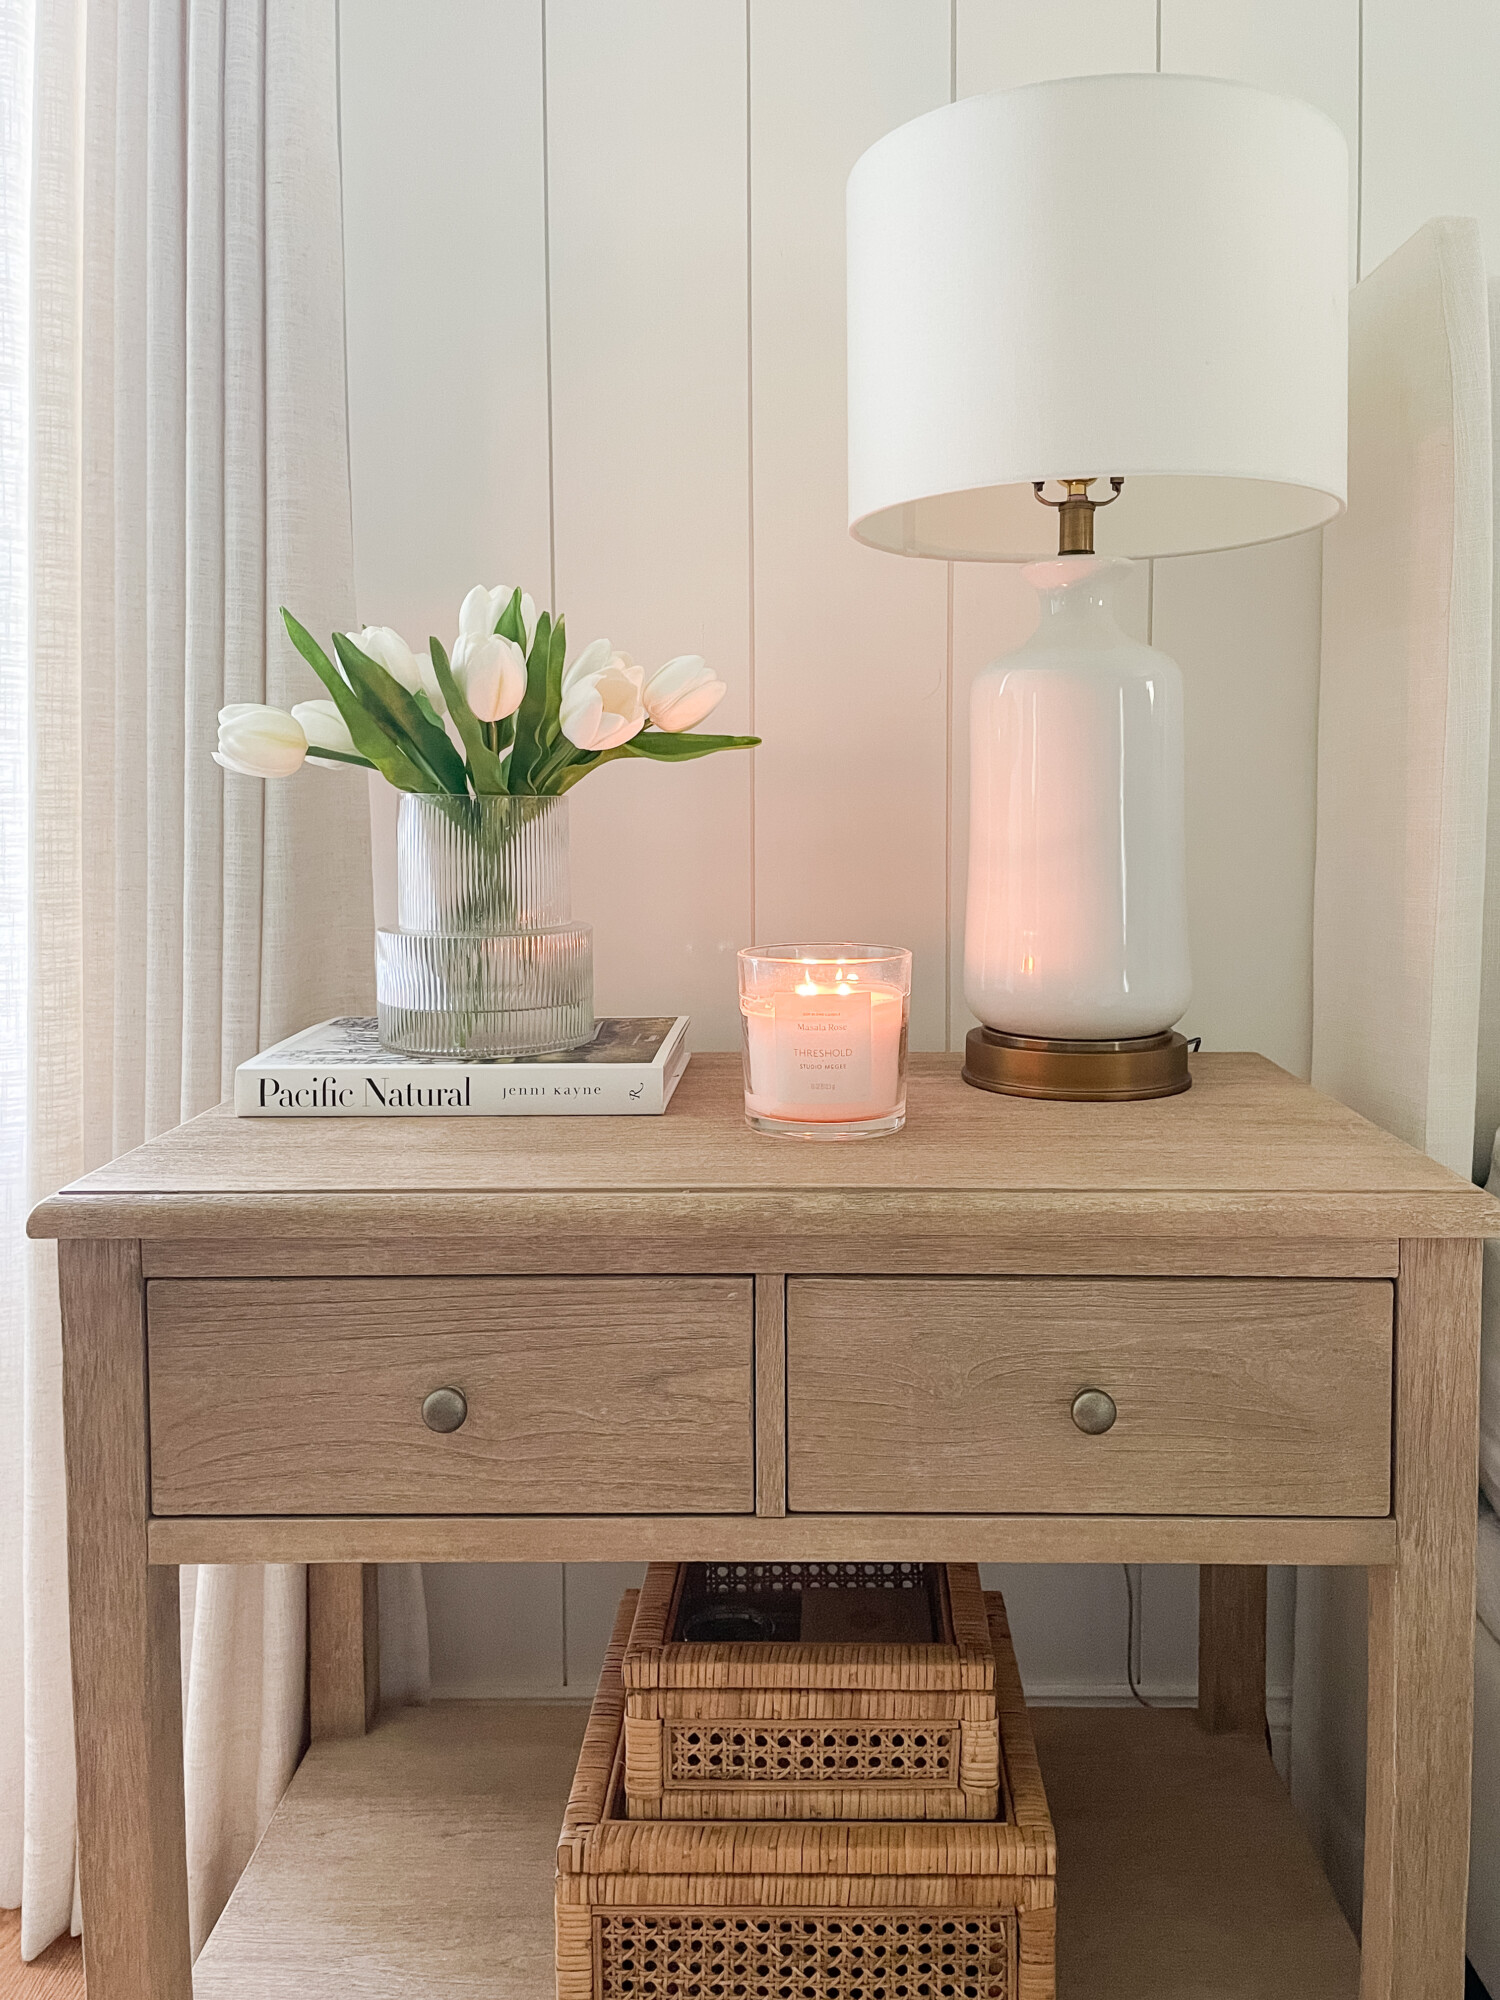
Christmas Accents on the Nightstands
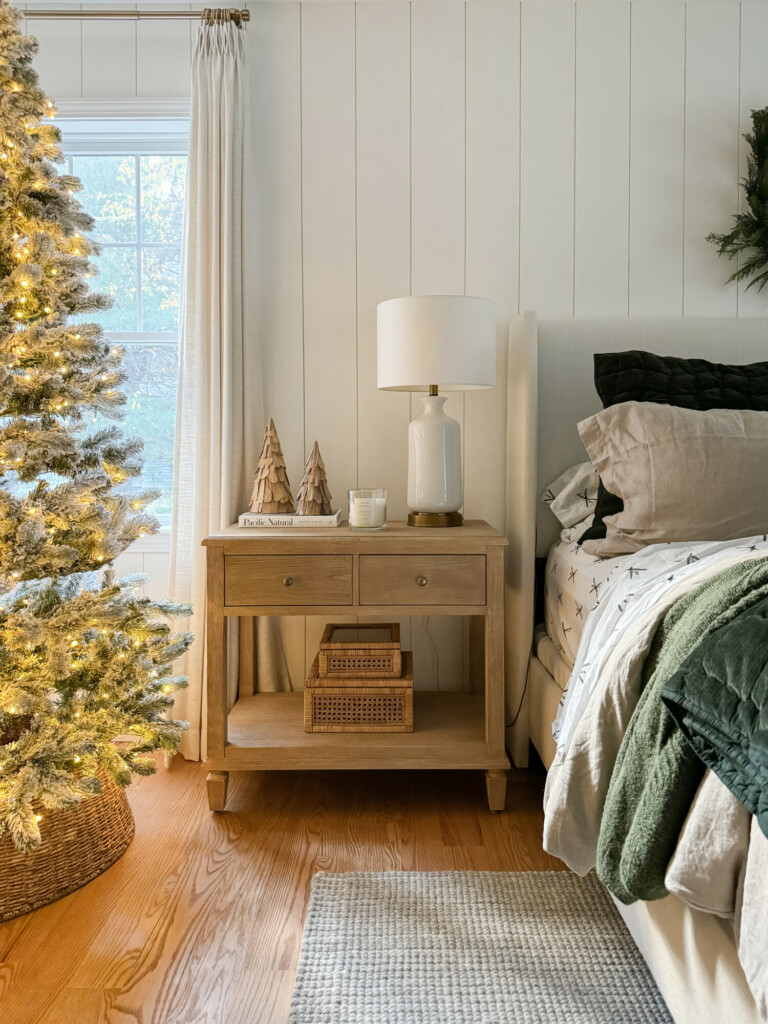

Nightstand | Driftwood Trees | Similar Candle | Lamp | Wooden Boxes | Tree | Tree Basket | Quilt | Blanket | Similar Vase | Clock | Faux Stems | Leather Boxes | Rug
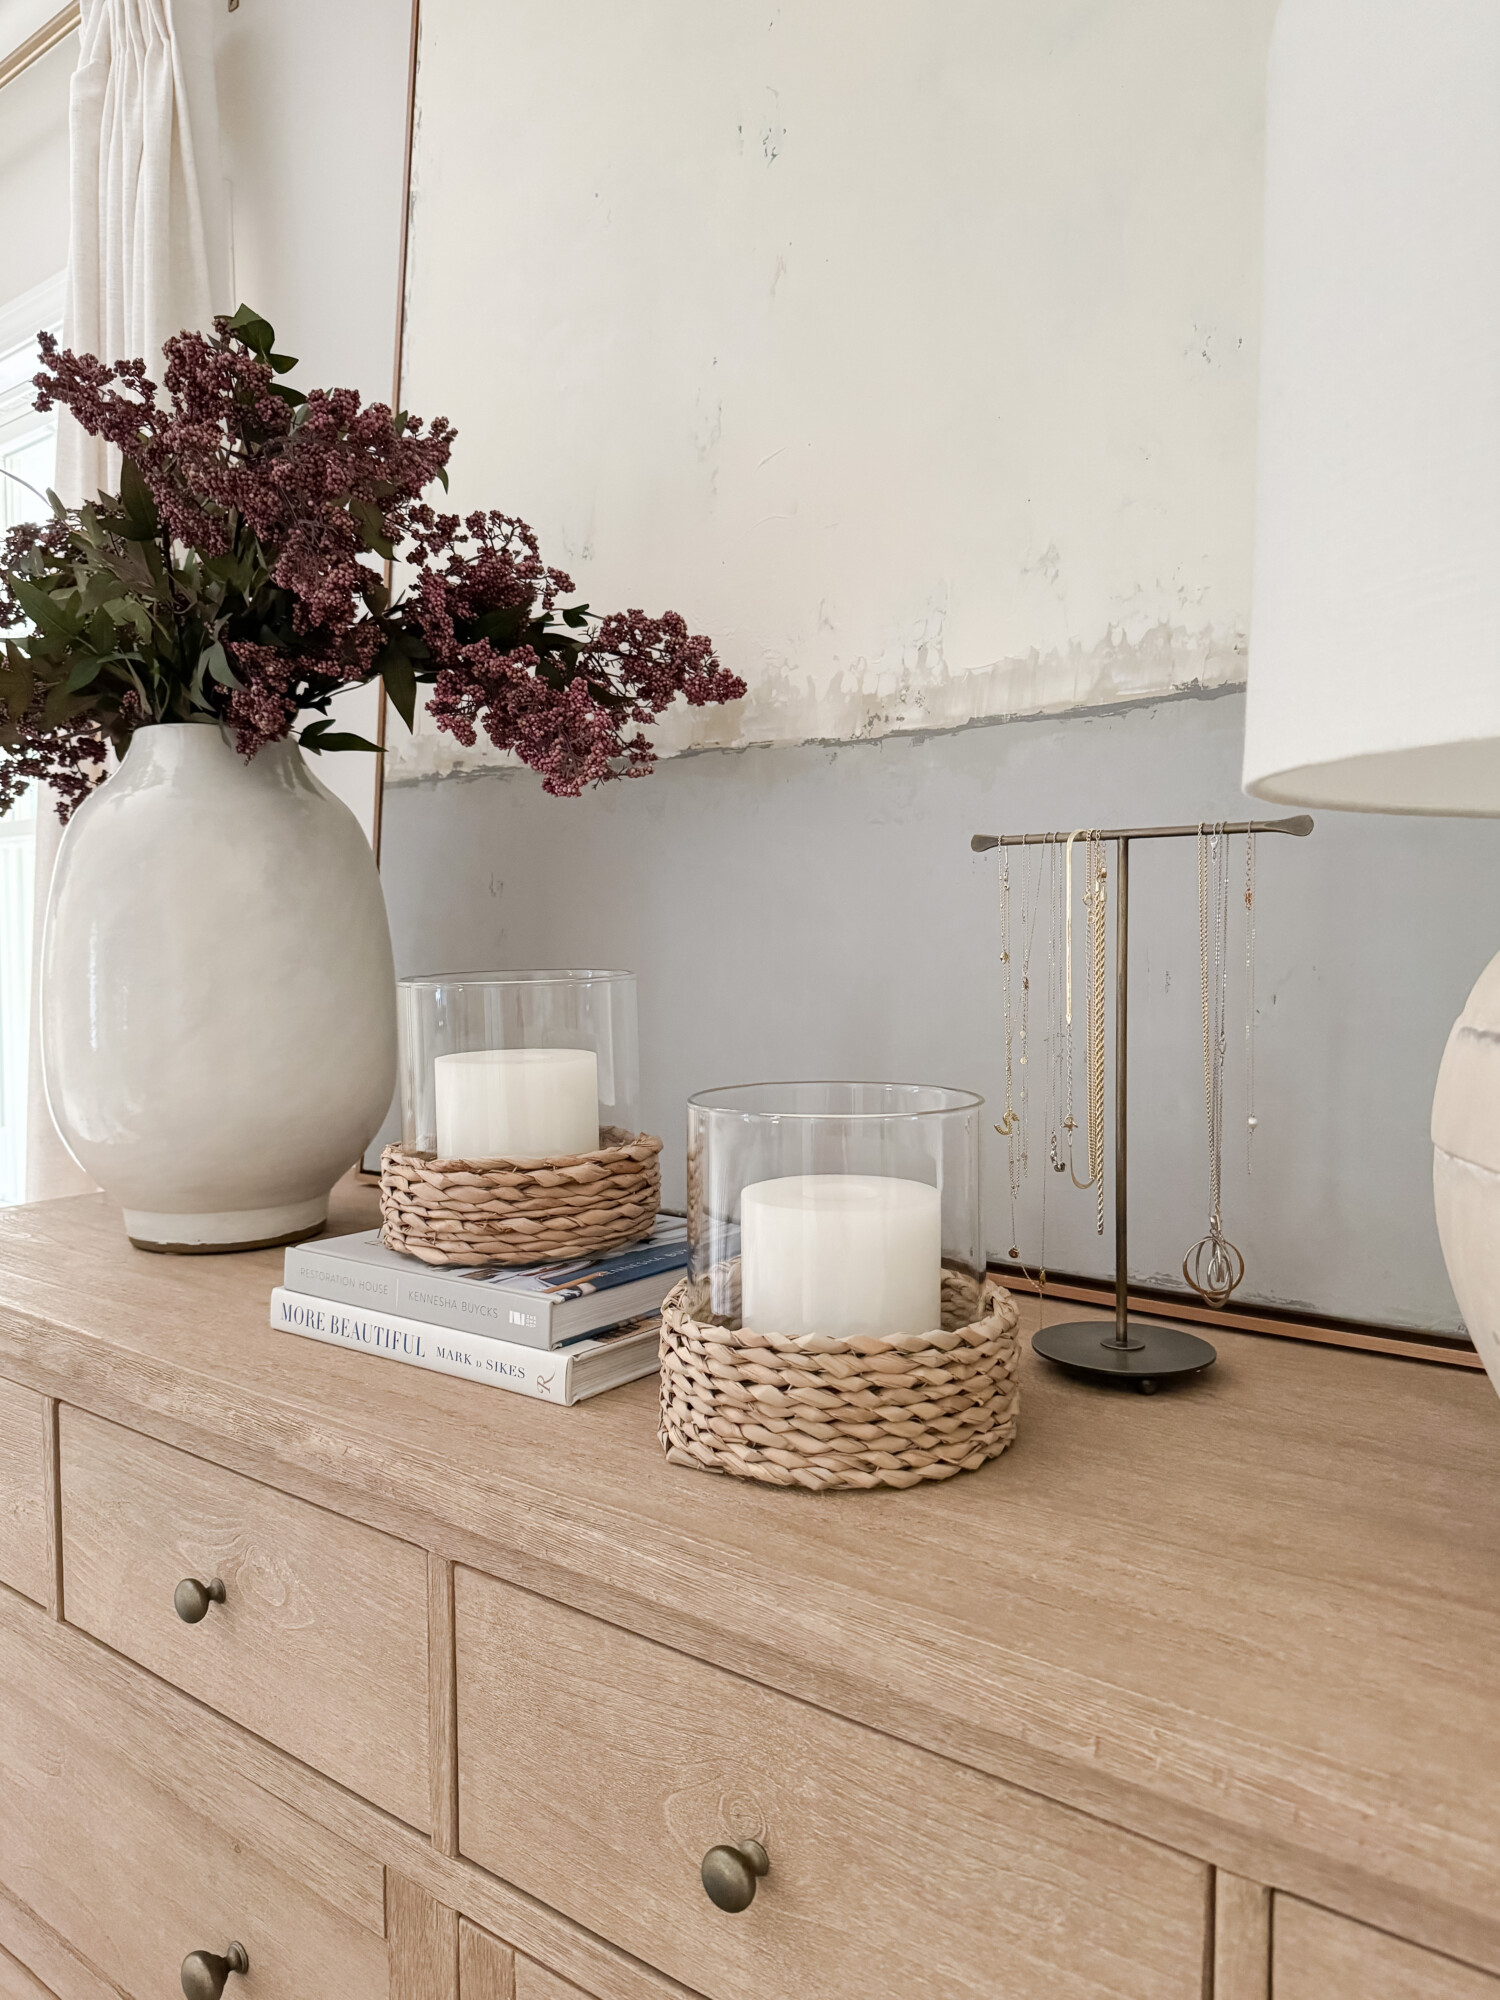
I’ve added a few festive accents to my nightstand for a simple yet charming holiday touch. Two wooden Christmas trees bring a rustic, natural feel, while a cozy Christmas-scented candle fills the room with holiday spirit. A couple of rattan boxes complete the look, adding warmth and texture. On the other nightstand I have added red berry stems to bring a touch of Christmas magic without overwhelming the space.
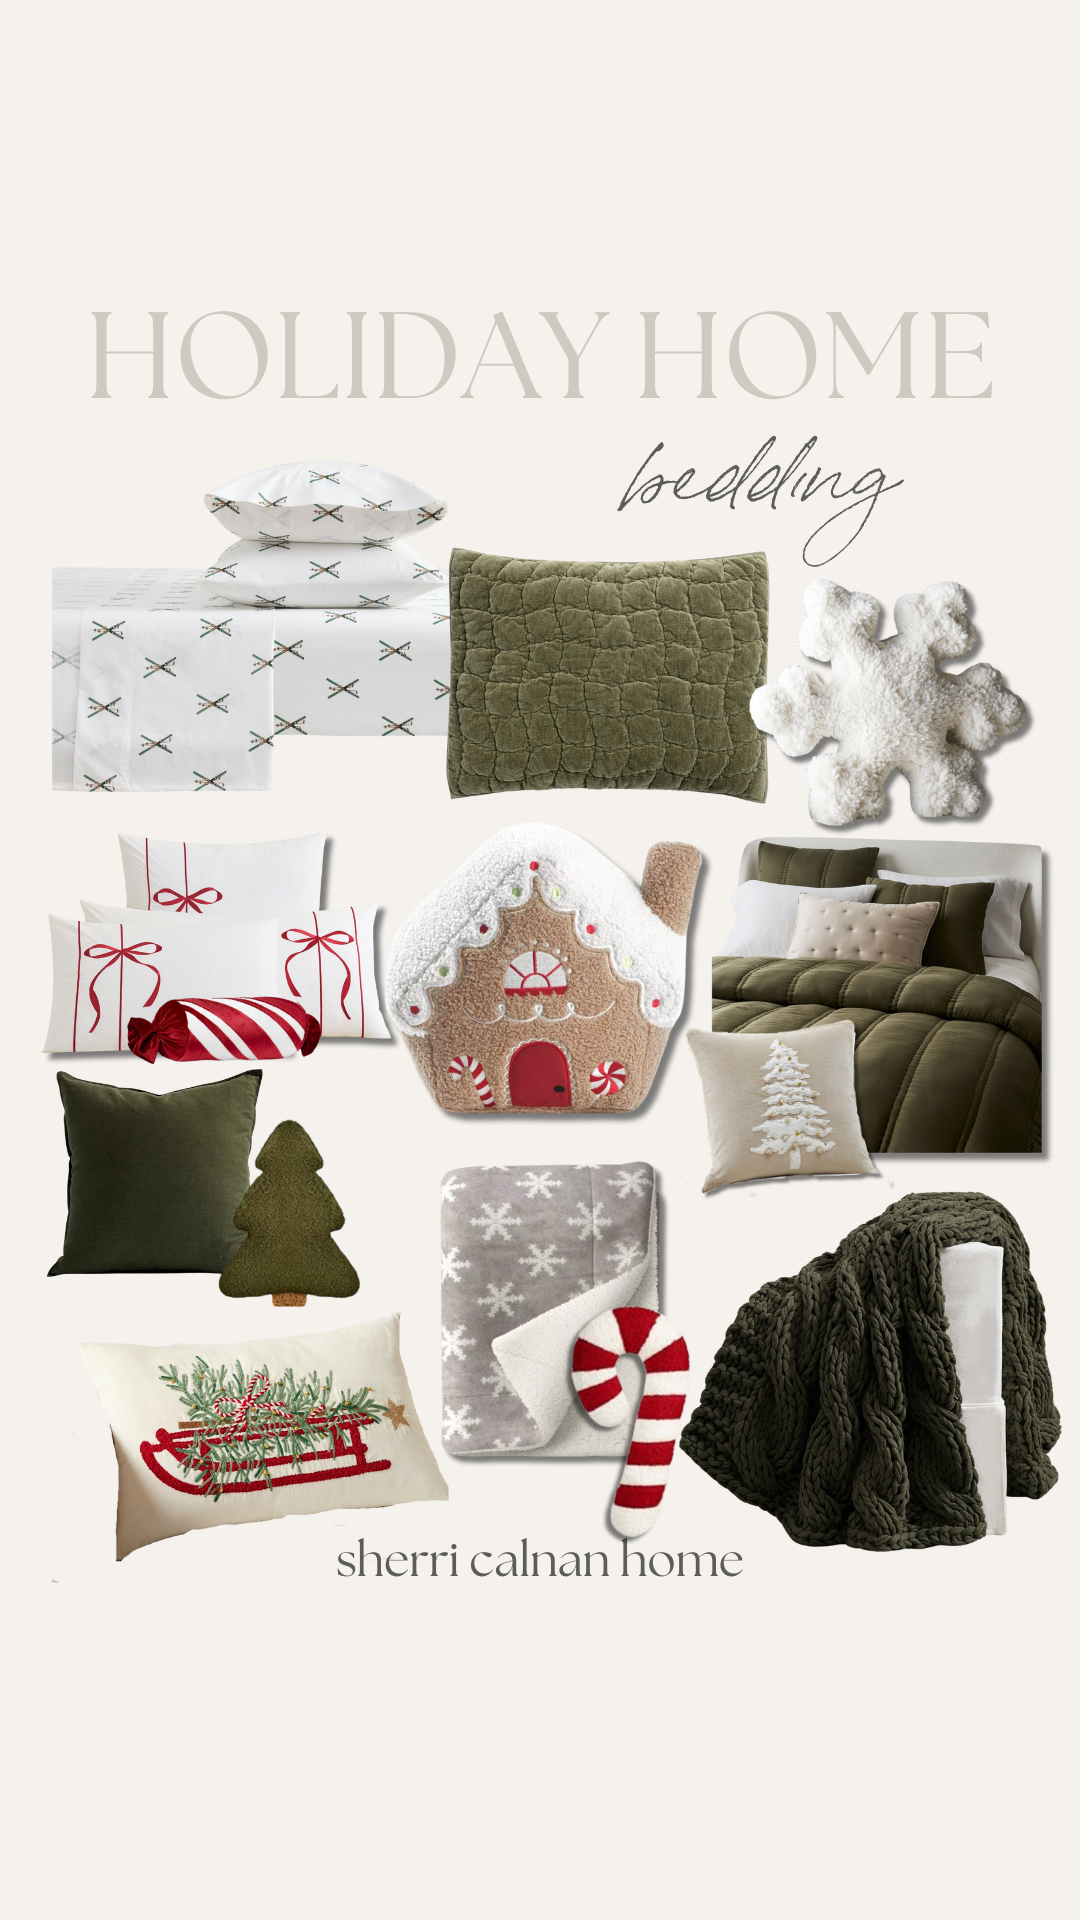
Festive & Cozy Christmas Bedding

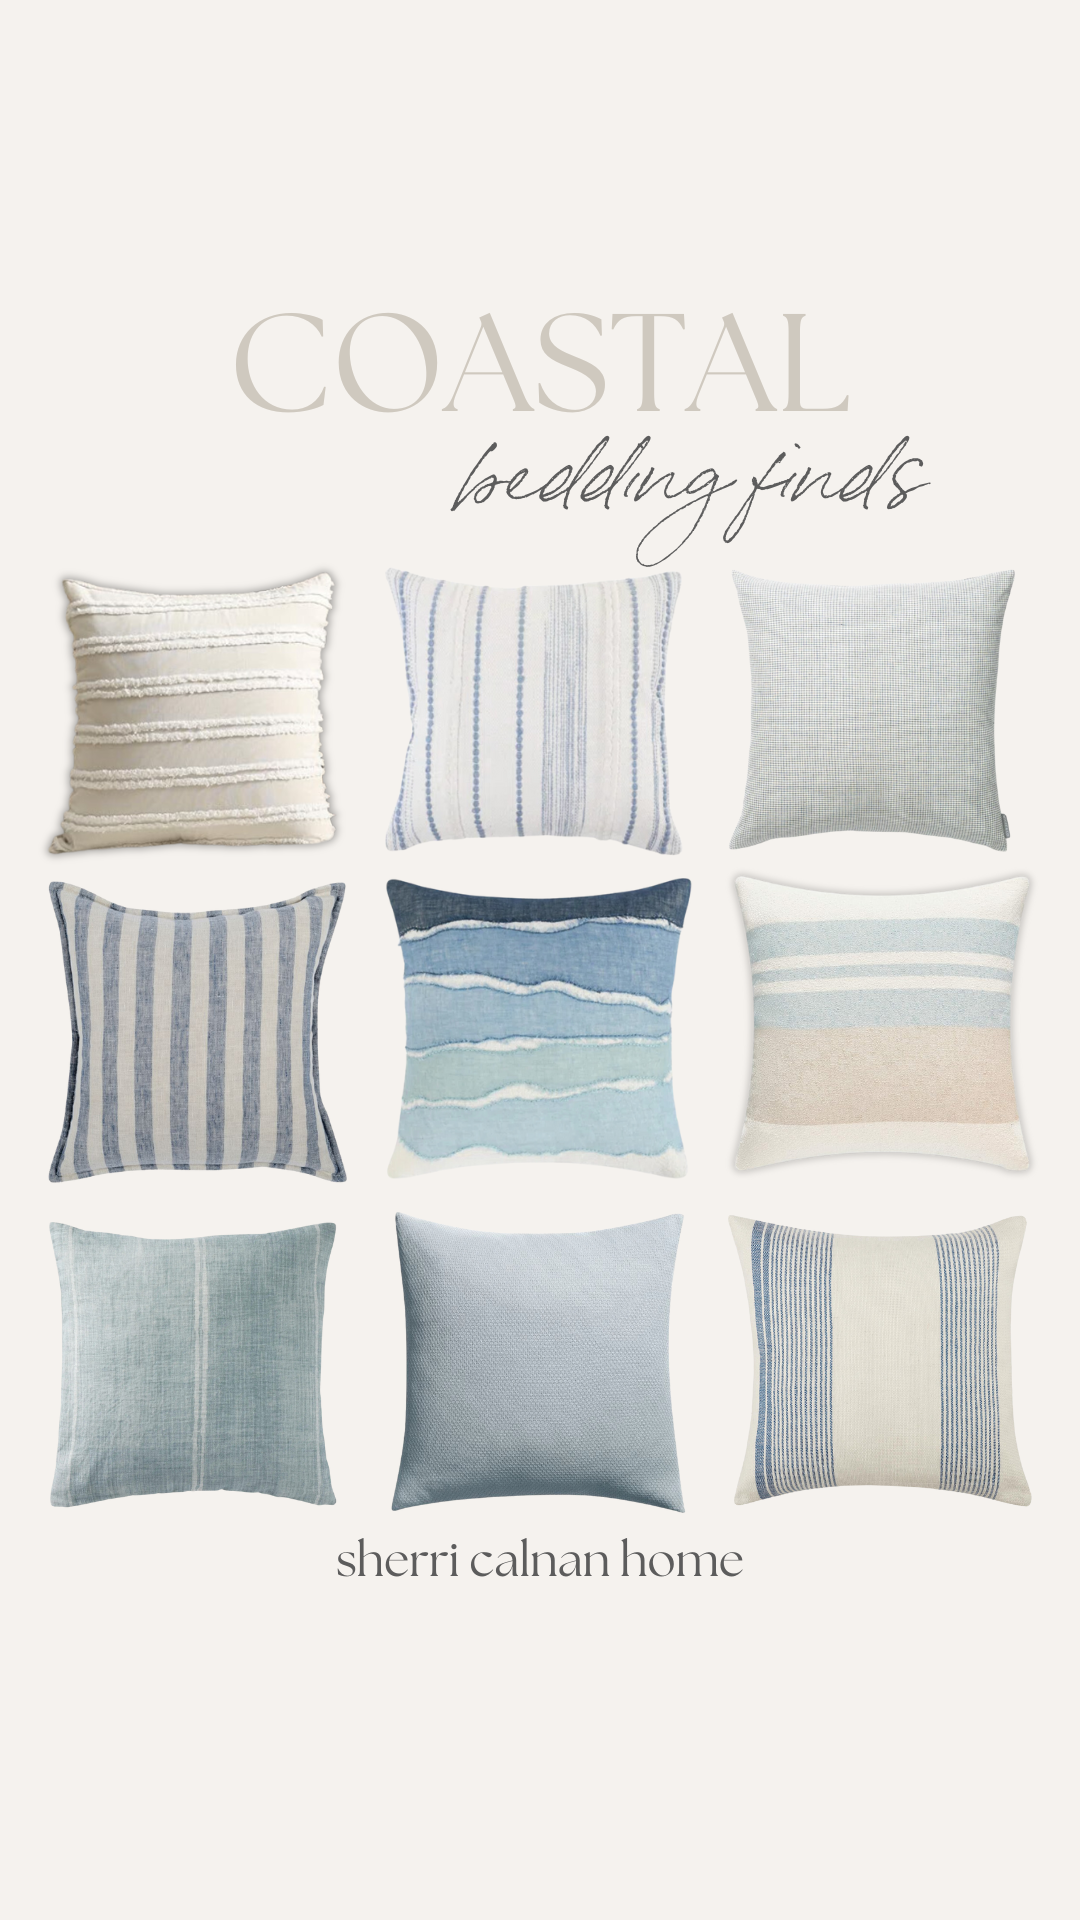
Wreath | Bed | Textured Pillow | Quilted Sham | Christmas Tree Pillow | Sheet Set | Quilt | Christmas Tree Blanket
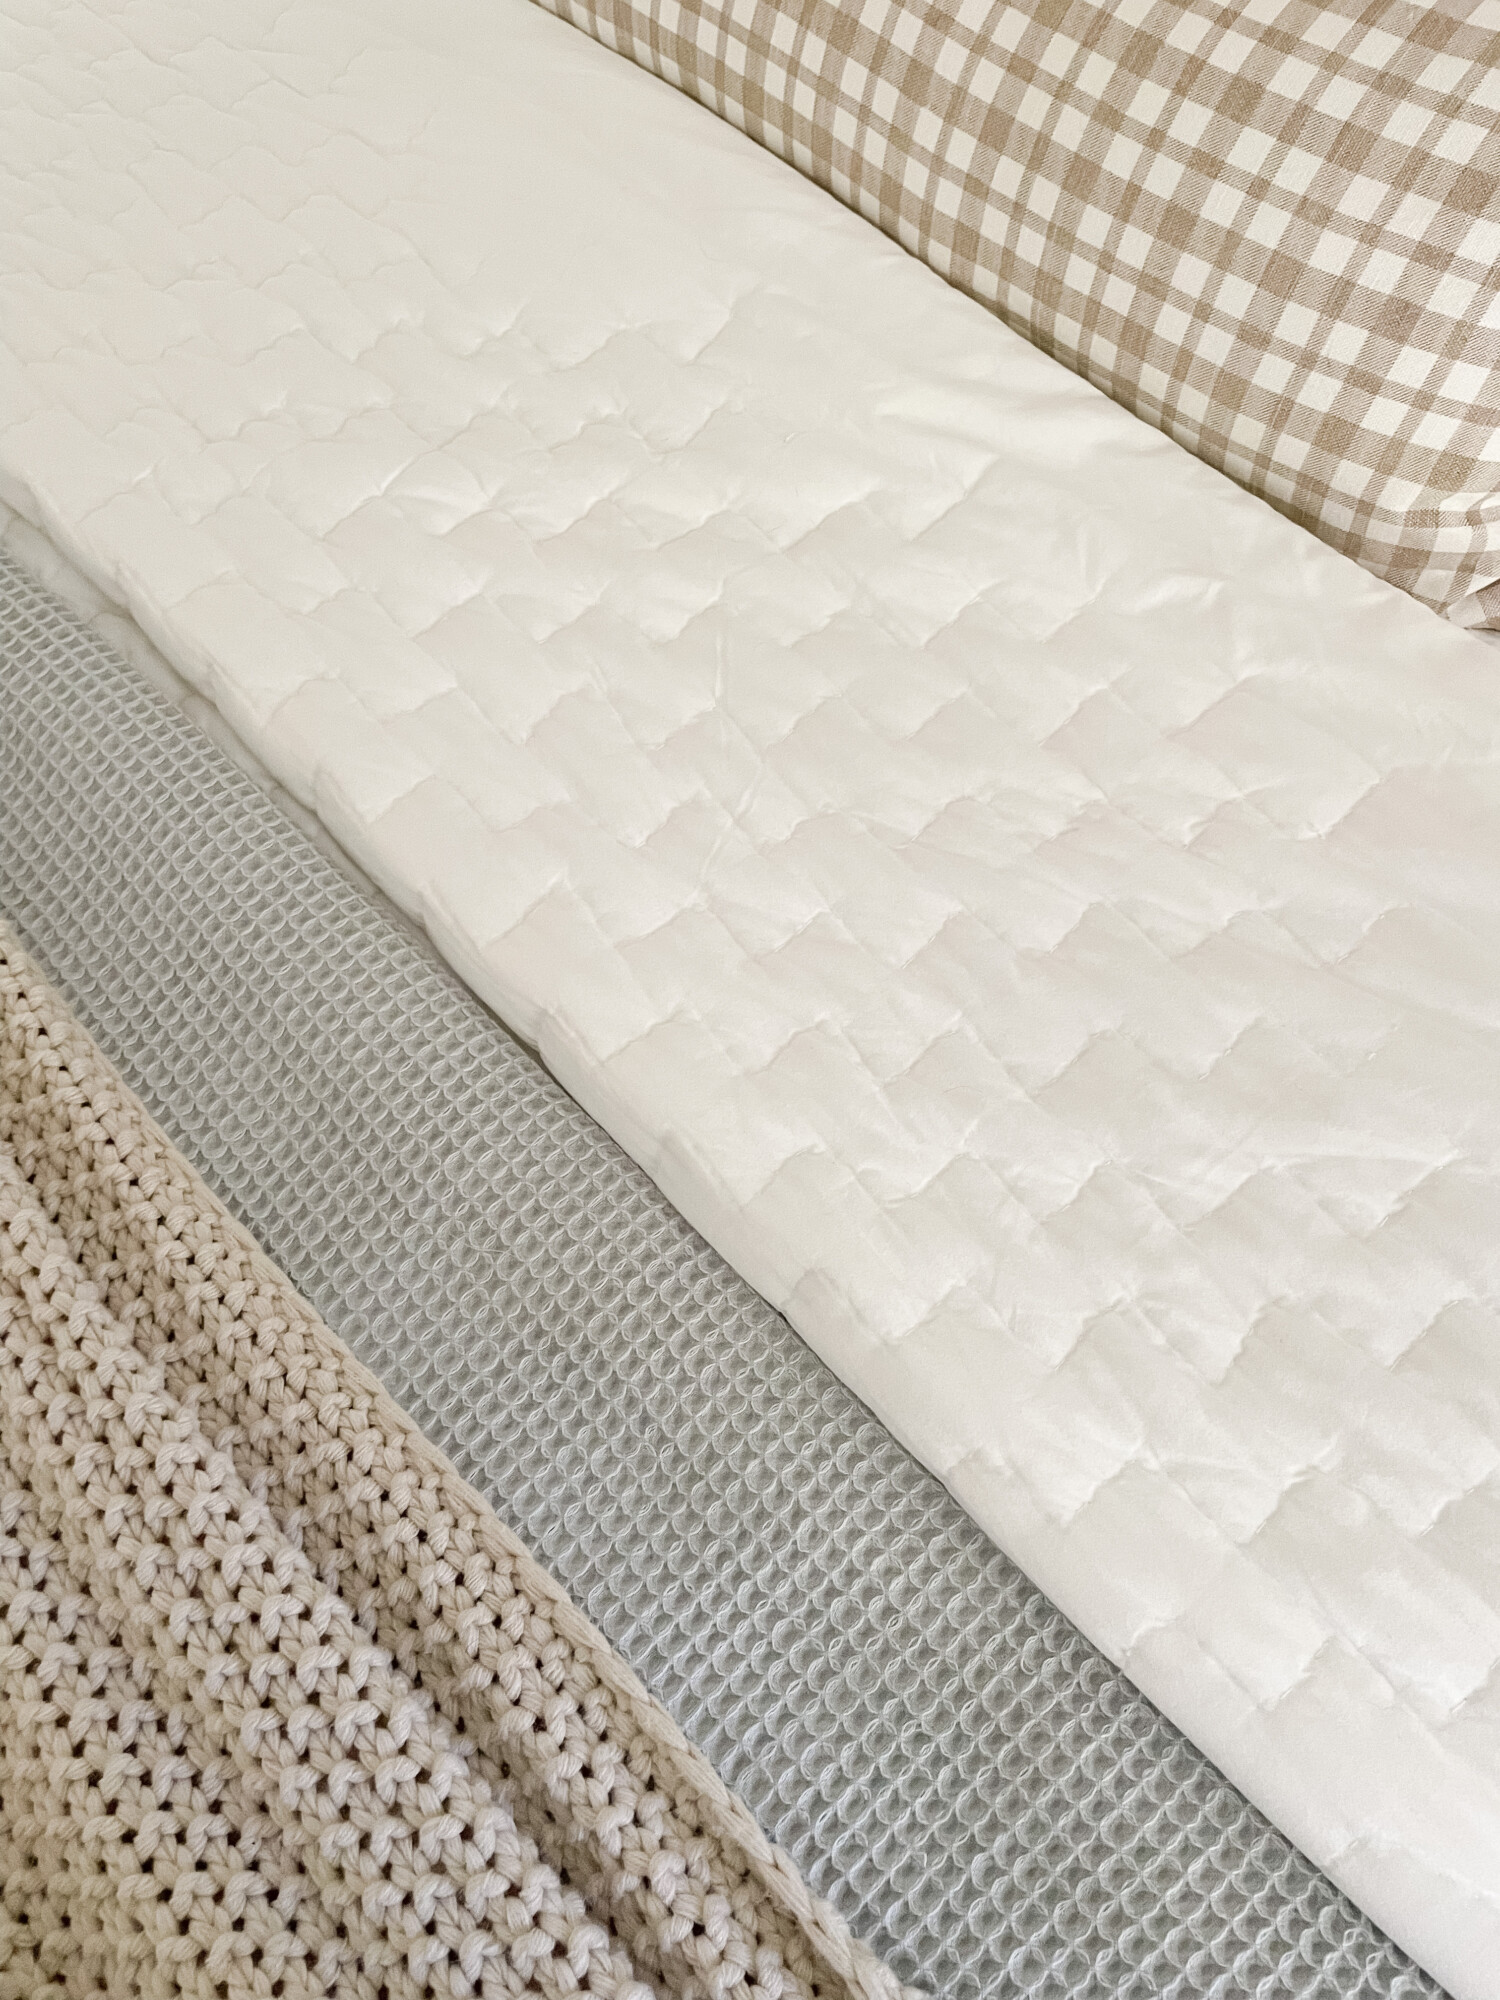
I love layering textures and colors, honestly no matter the season. A deep green throw adds a pop of color, while Christmas-themed pillows—think subtle plaid and cozy knit patterns—bring in seasonal charm. The soft, neutral bedding creates a calm base, allowing the holiday accents to really stand out without overwhelming the space. It’s the perfect balance of comfort and Christmas cheer!
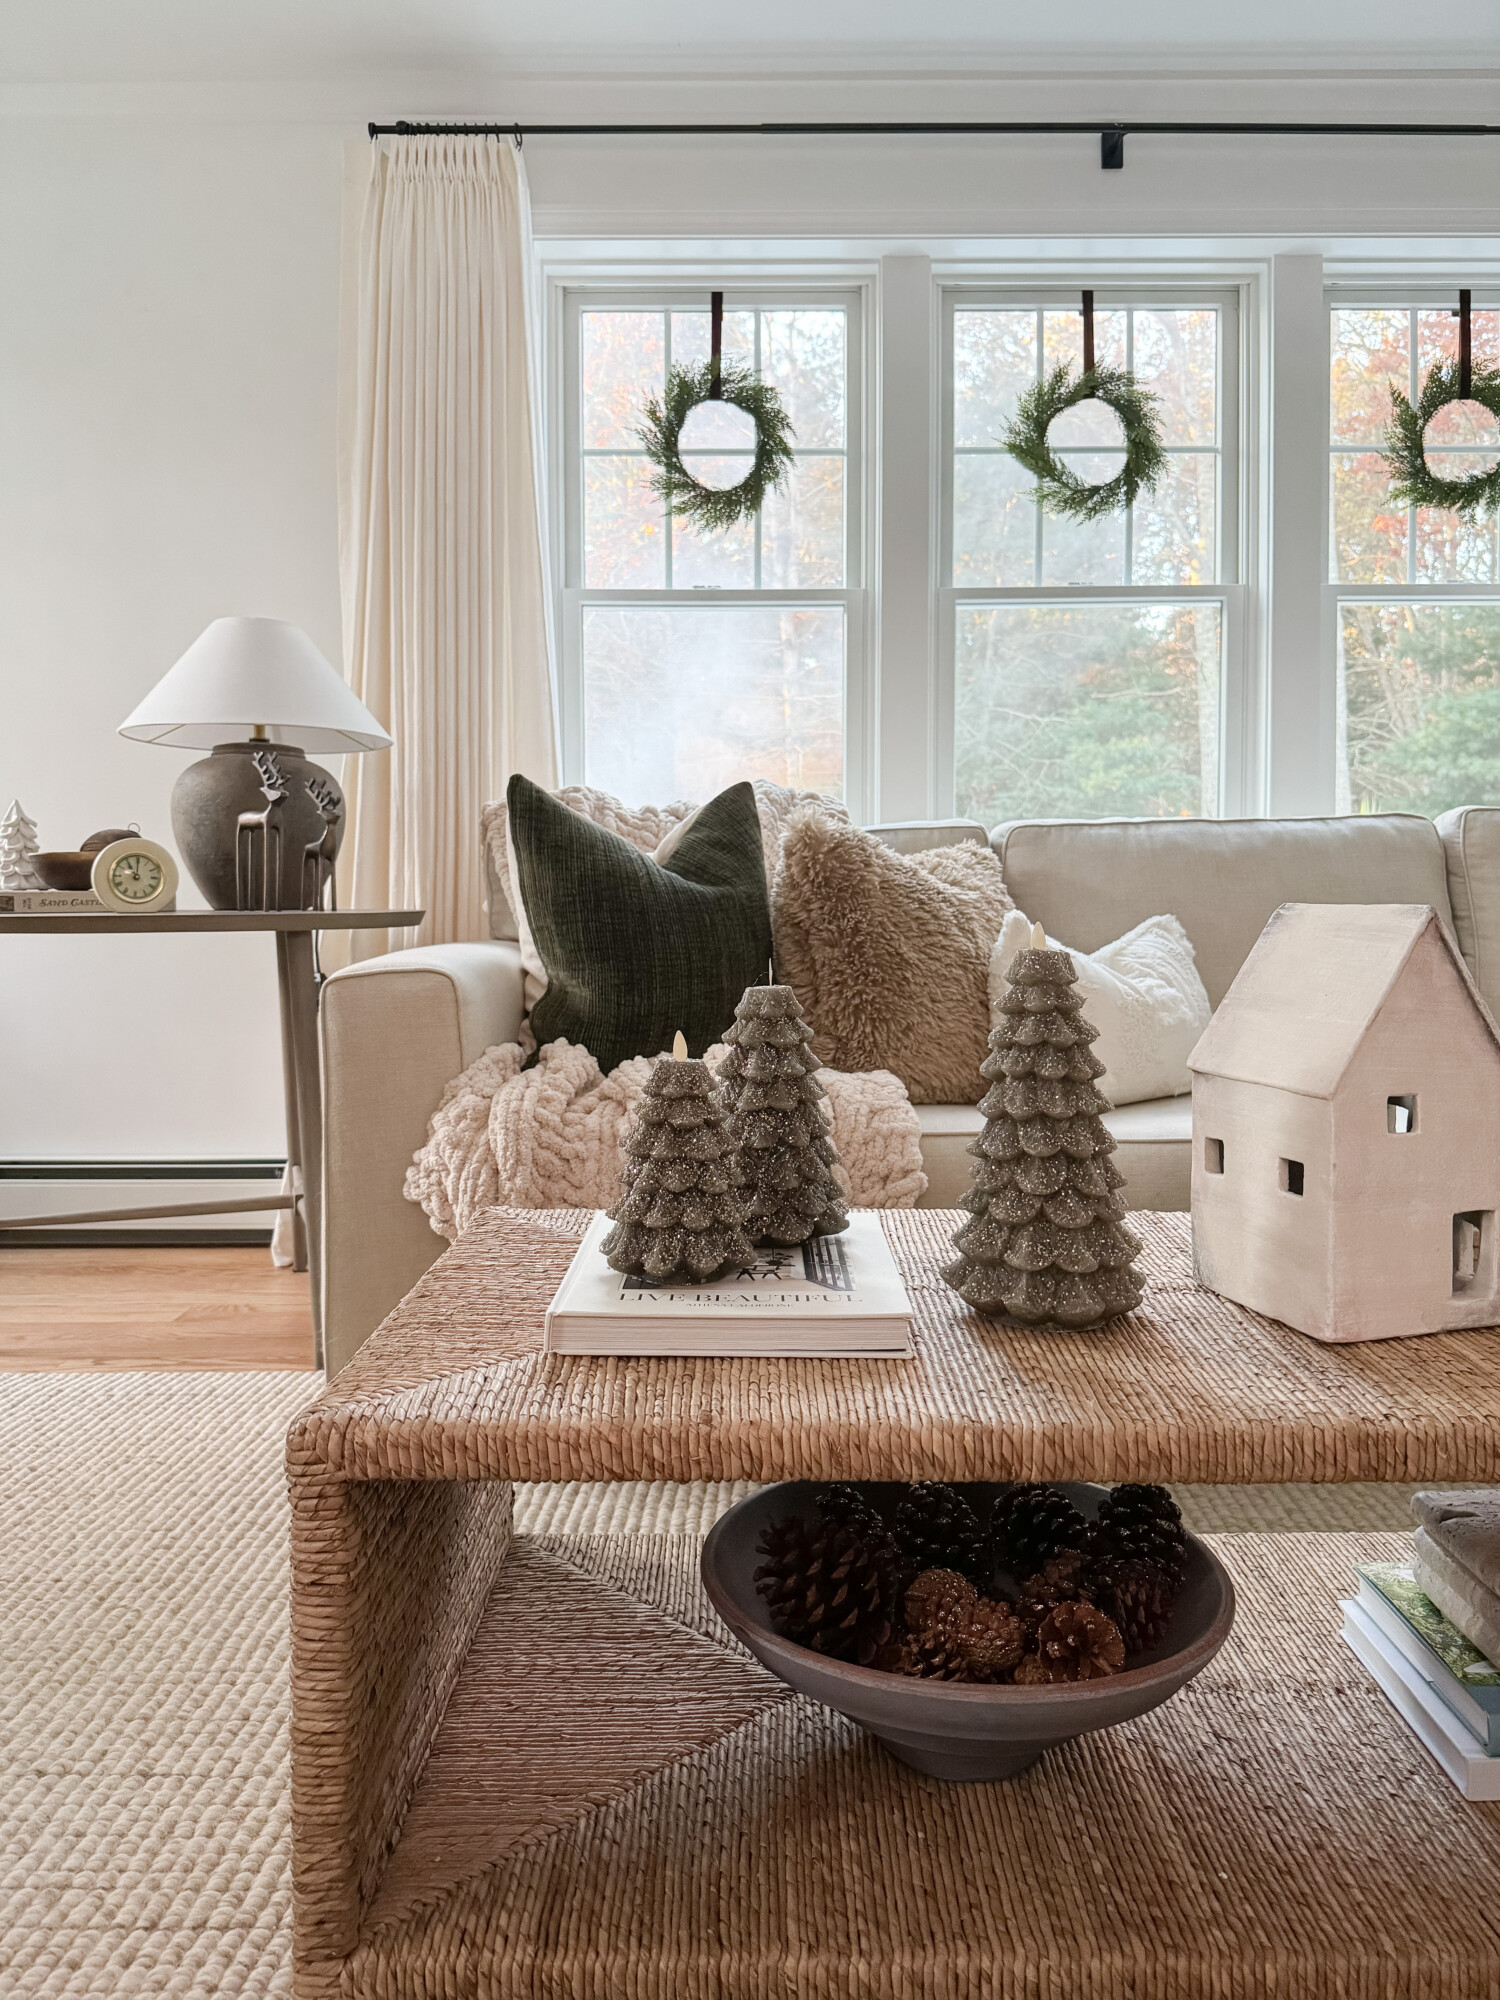
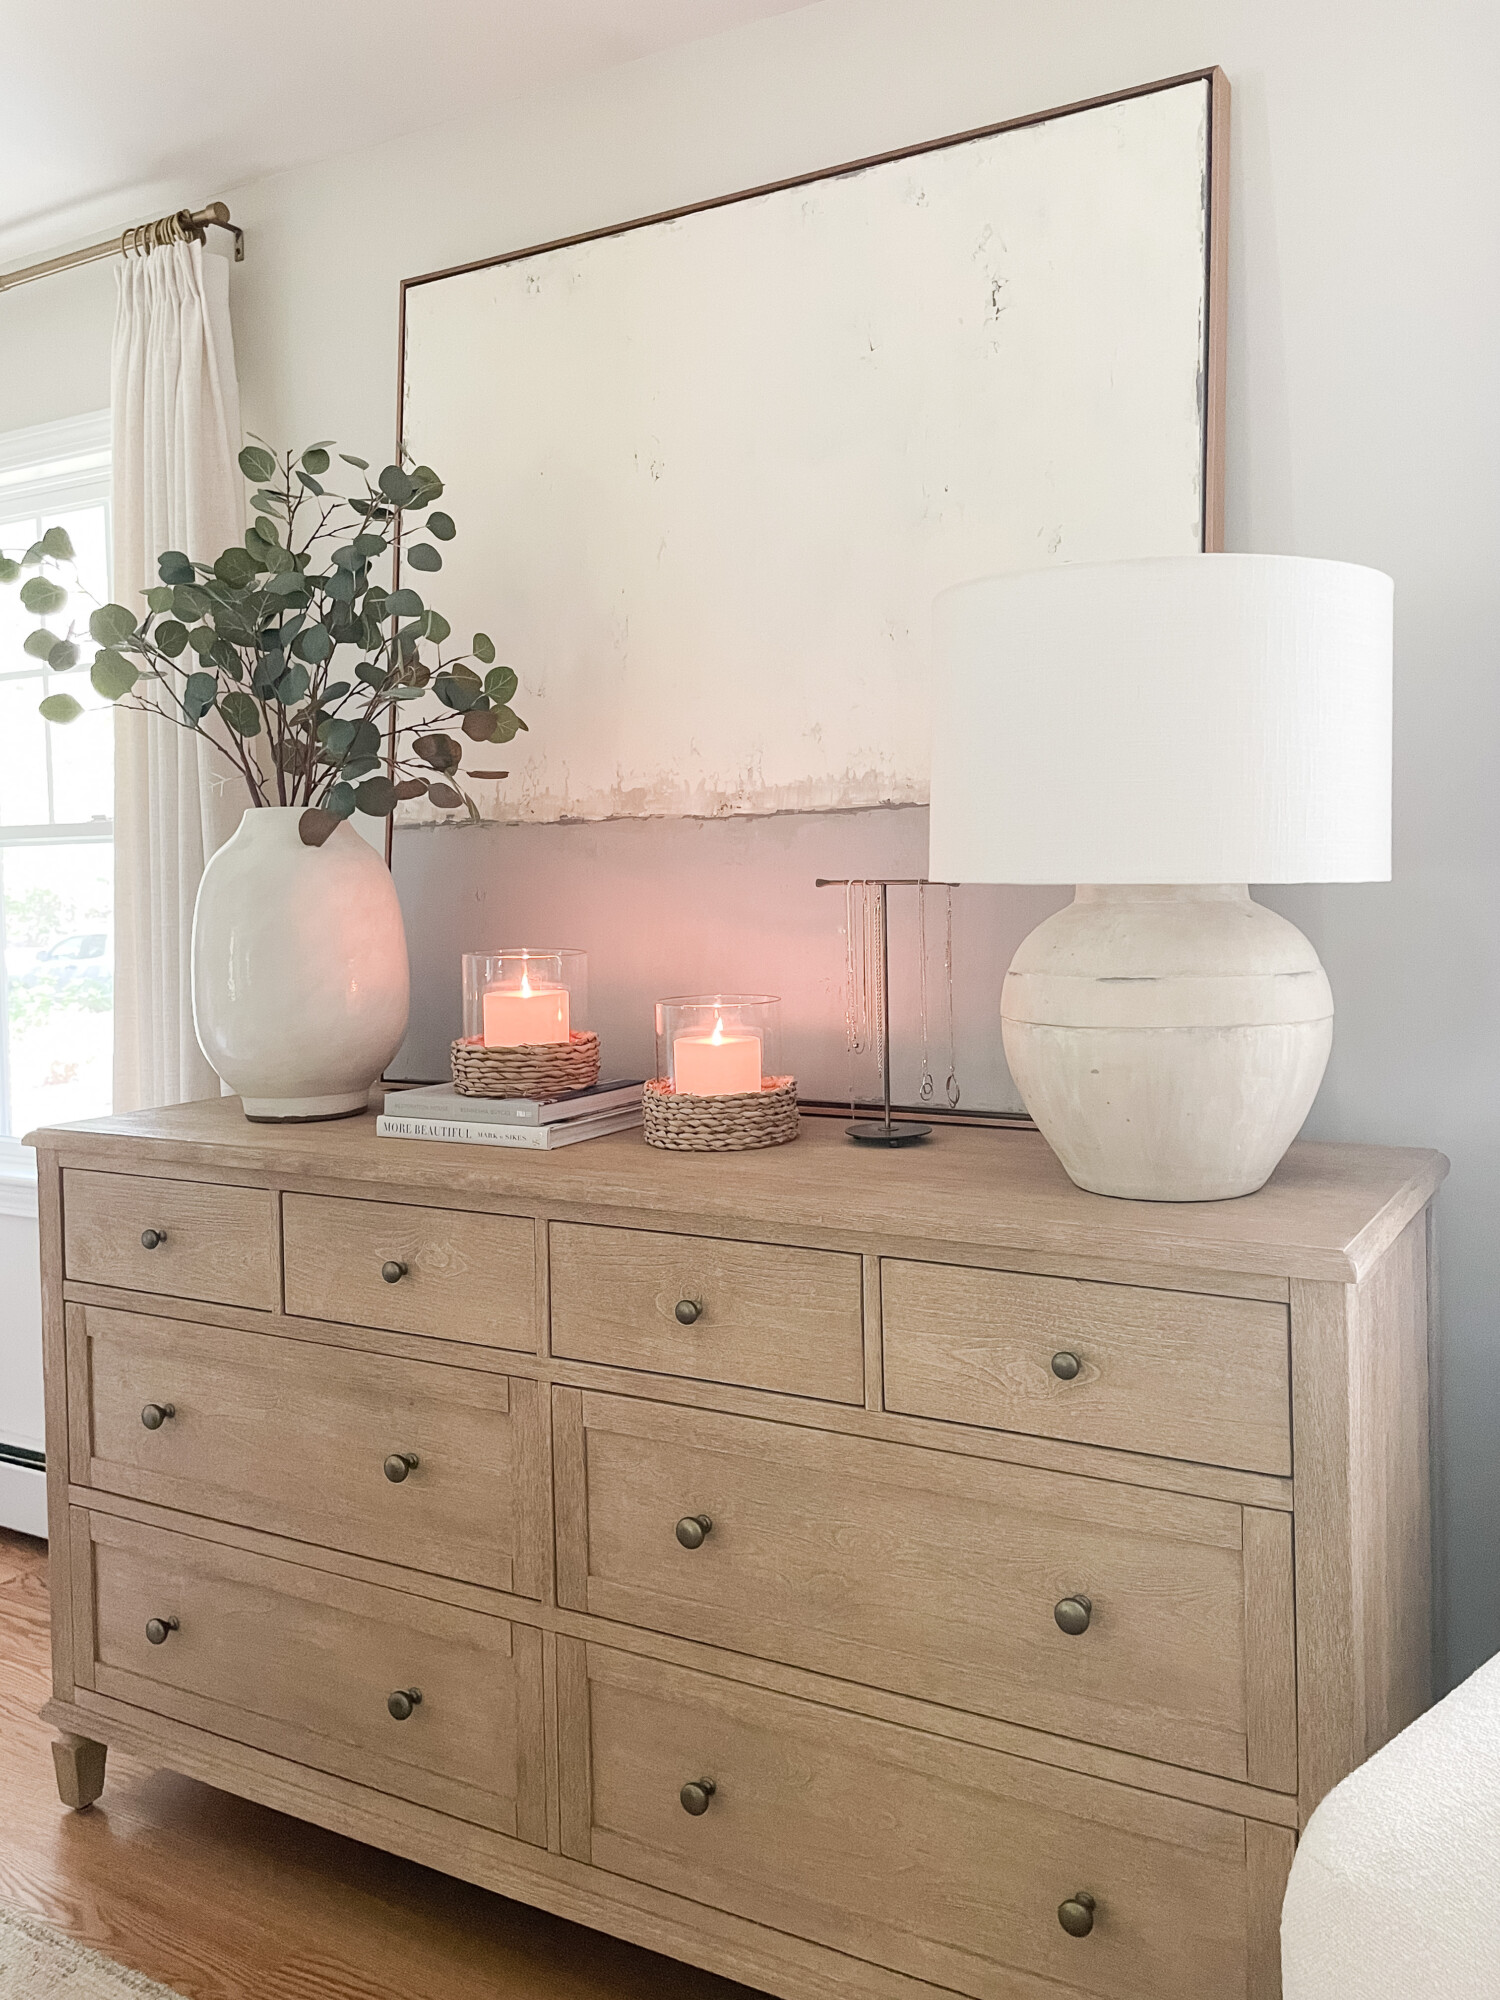
Christmas Touches on the Dresser

Dresser | Ceramic Vase | Similar Tree Statues | White Bowl | Jewelry Holder | Lamp | Chair | Vintage Framed Art | Bench Seat | Dark Pillow | White Throw | Rug
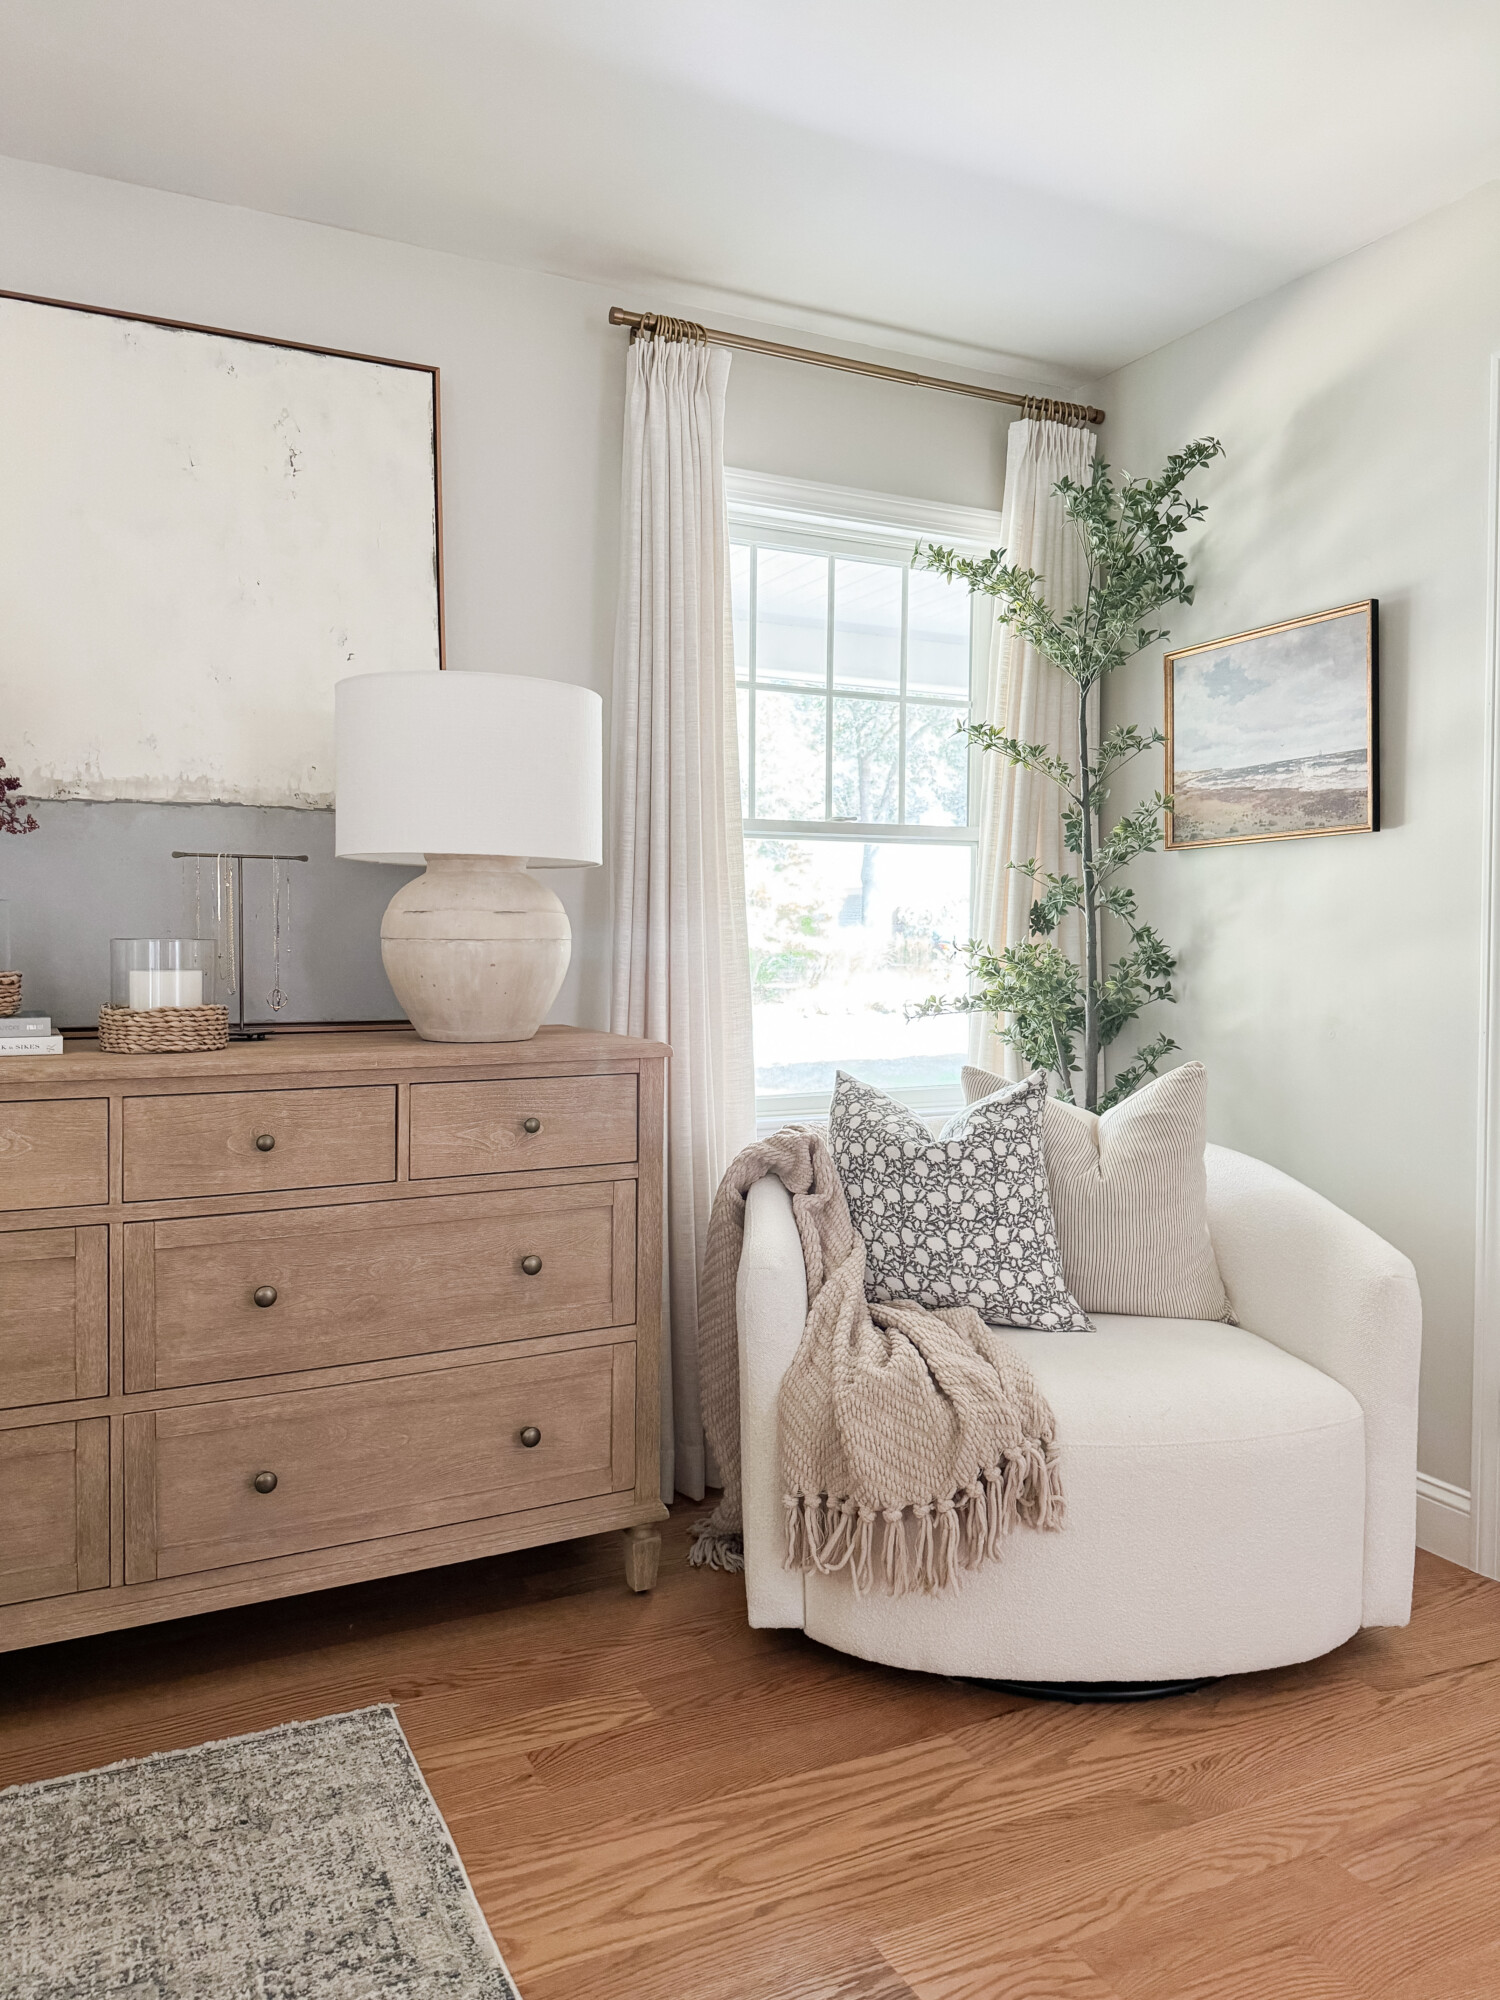
The sideboard is the perfect place for adding a few more holiday accents. I’ve placed small Christmas trees on one side for a natural, earthy vibe, while a white chair nearby gets cozy with a couple of Christmas colored pillows. A vase filled with faux stems adds a touch of greenery, bringing the beauty of winter indoors. These simple, thoughtful additions help create a cozy, festive, and inviting atmosphere throughout the room.
Subtle Christmas Touches Around the Room


Mirror | Mantle Garland | Tree | Bench Seat | Rug | White Throw | Velvet Pillow | Christmas Tree Pillow | Tree Basket | Wreath
To enhance the holiday ambiance of our bedroom, I’ve added a few subtle details throughout the room. A lush garland drapes over the arched mirror bringing a touch of greenery to the space, while a simple bow on the mirror adds a cheerful, seasonal flair. On the floor, a rattan tree collar offers a rustic, natural touch. These little accents help tie everything together, creating a warm and inviting atmosphere full of Christmas spirit.
I hope you are feeling inspired to transform your cozy corner into a Christmas retreat that you can’t wait to get to every night. For more holiday inspiration, click HERE.

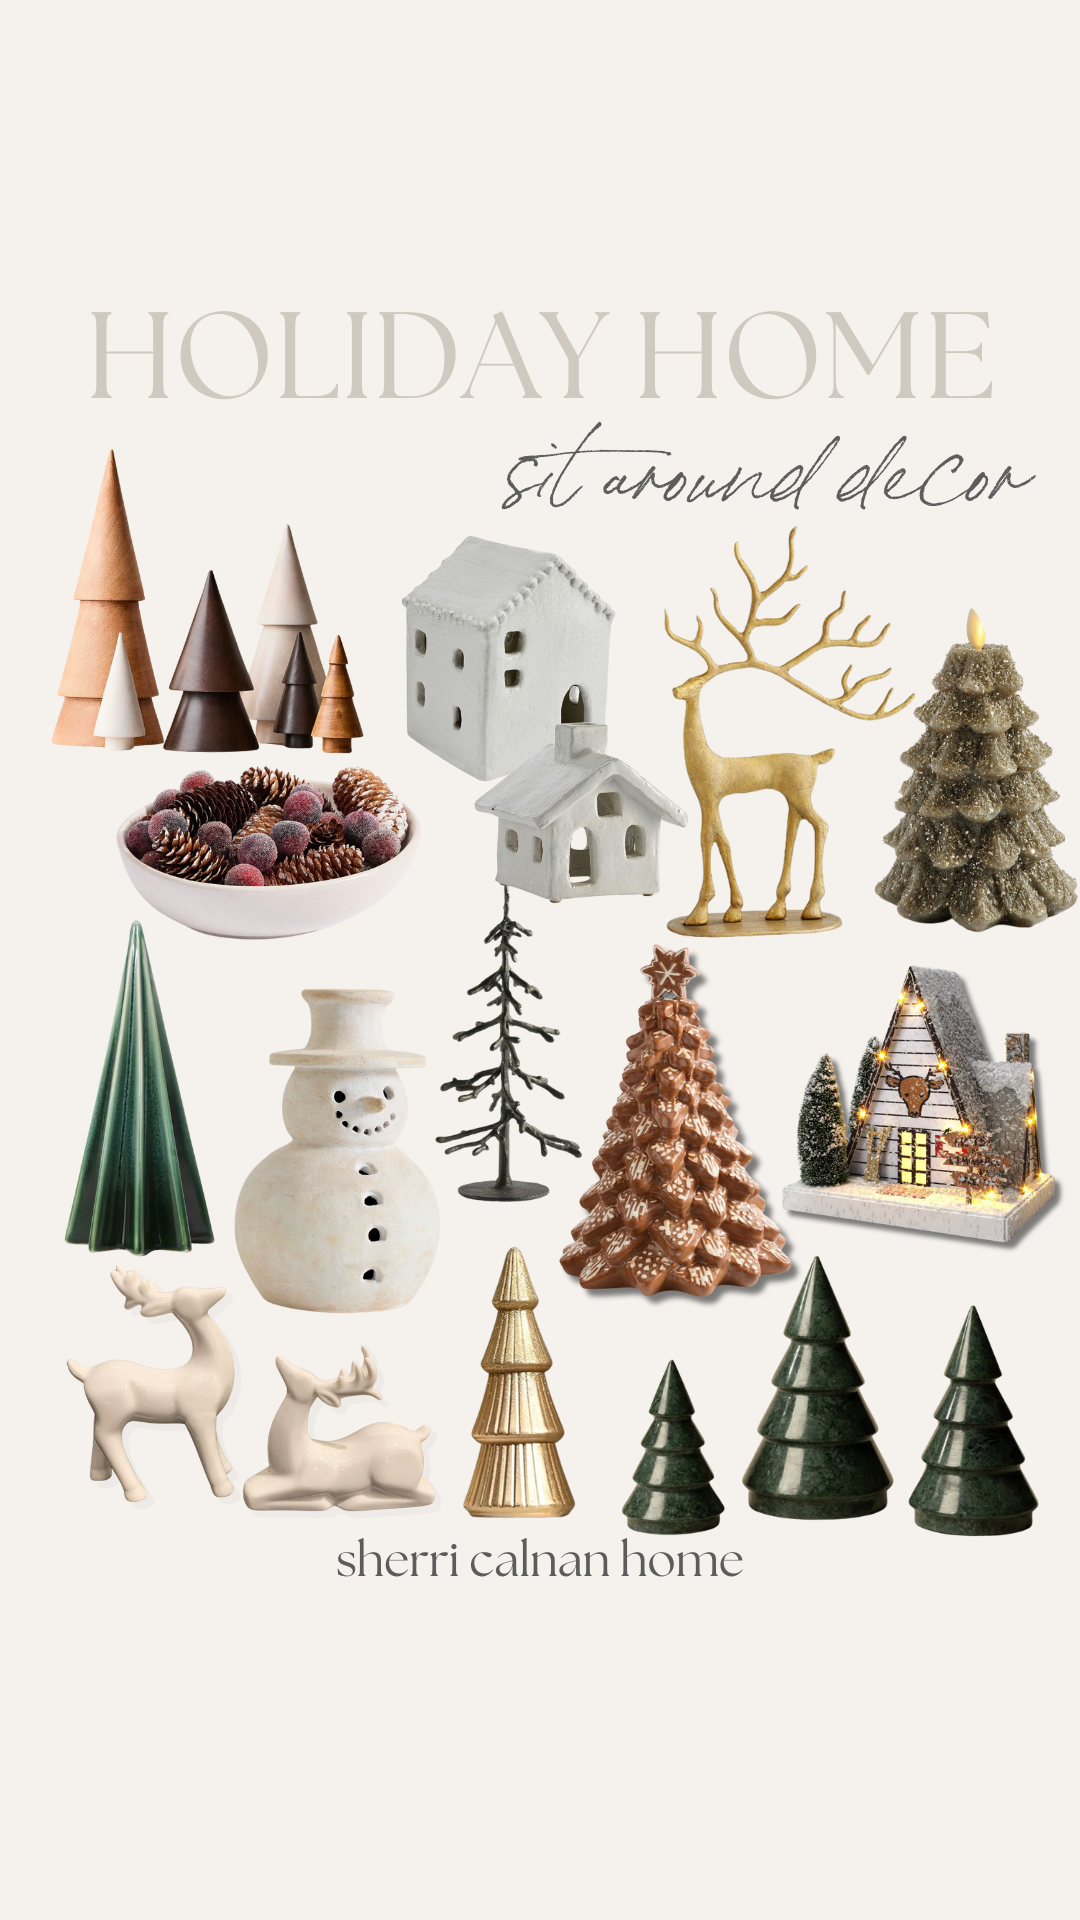
Cypress Faux Tree | Mini Faux Christmas Tree in Basket | Faux Pine Tree | Faux Spruce Tree | LED Glitter Flocked Balsam Fir | Artificial Norfolk Pine Tree | Pre-Lit Nordic Spruce Tree | Faux Potted Alpine Tree
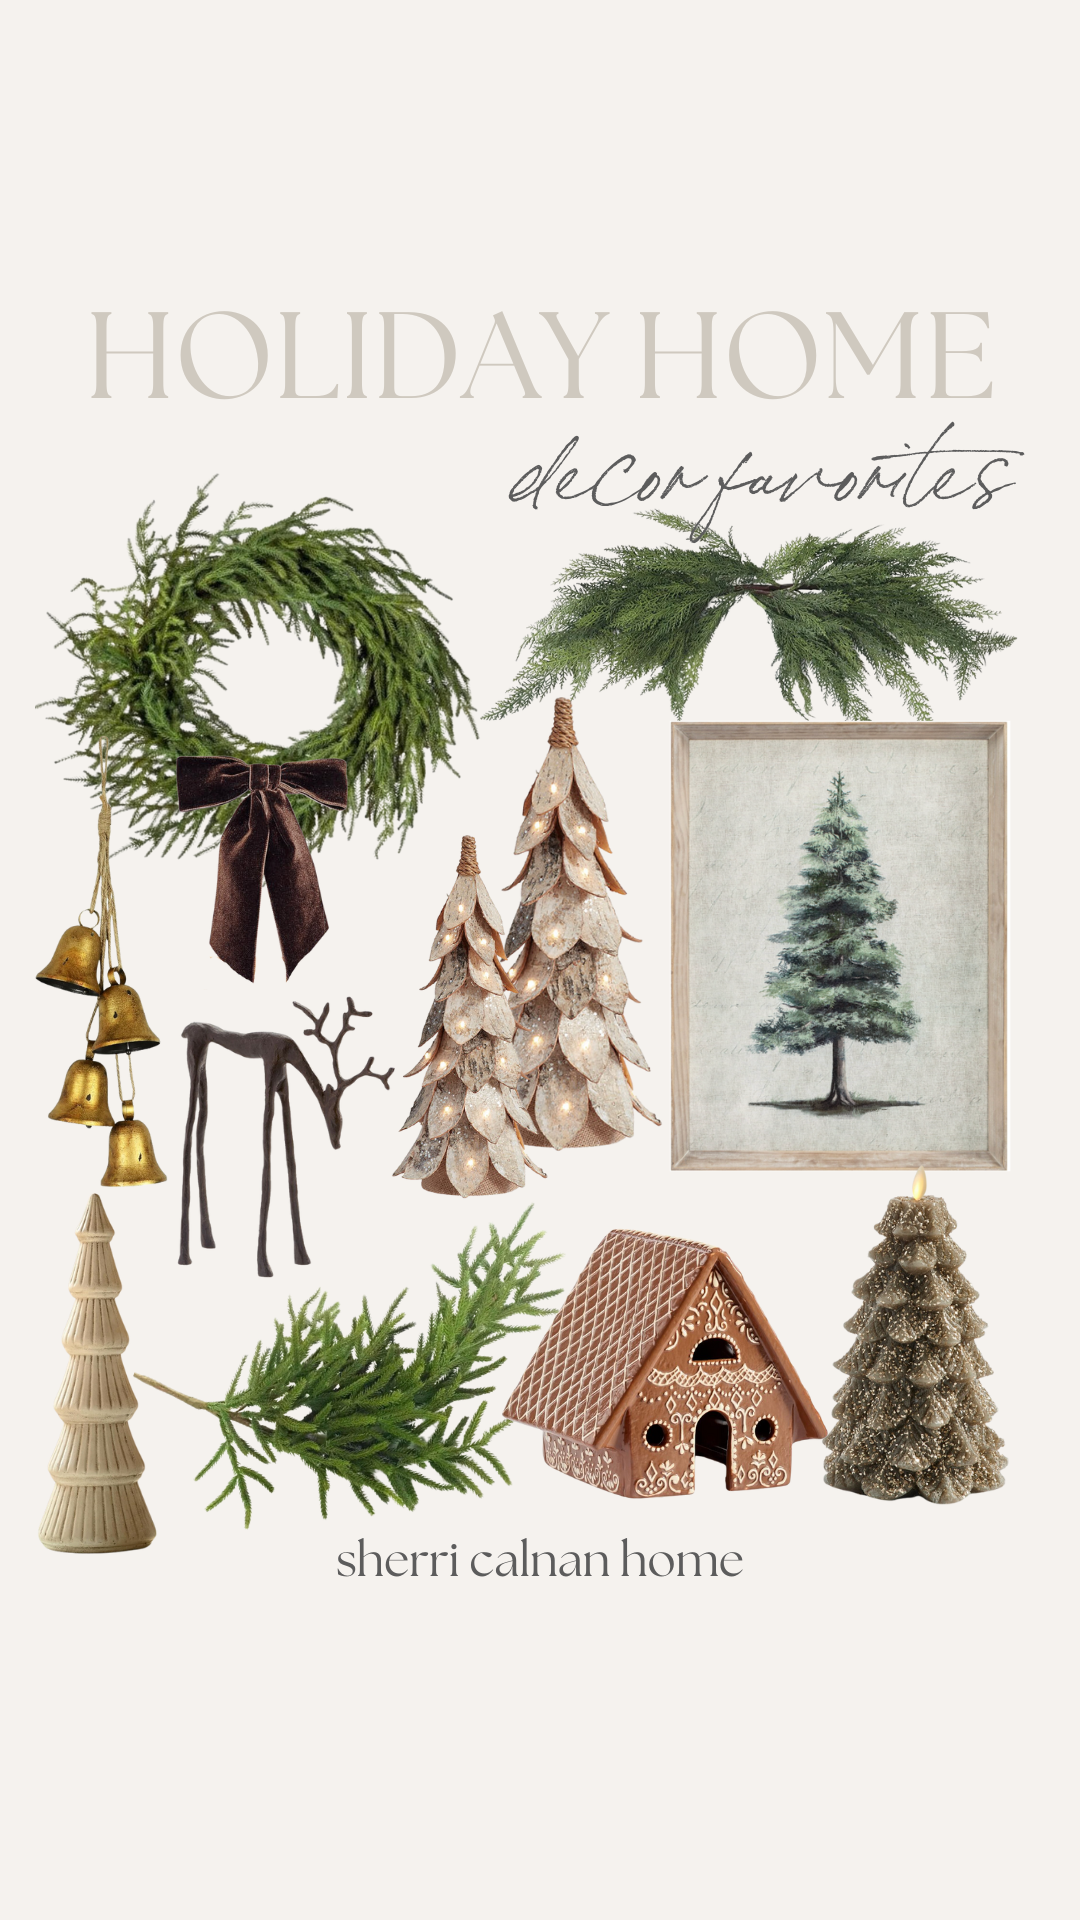
Wreath | Bow | Mantle Garland | Decorative Bells | Sculpted Reindeer | Lit Birch Trees | Winter Tree Art | Wooden Tree Figurine | Norfolk Pine Branch | Gingerbread Village House | Flameless Tree

Christmas Tree Sled | Frosted Tree | Falala Embroidered | Candy Cane Embroidered | Tree Embellished | Textured Chenille | Kellan Yard Dyed Woven | St. Jude Skier Embroidered | Tree Kilim


